

Key Takeaways
- Smart home gadgets installation can greatly enhance your home's convenience, security, and energy efficiency.
- Essential tools for installation typically include a screwdriver, drill, and possibly specific manufacturer tools. Always consult the user manual before beginning.
- Smart thermostats, when installed correctly, can learn your schedule and temperature preferences for optimal comfort and energy savings.
- Installing smart doorbells and security cameras can significantly boost your home's security levels, allowing for real-time monitoring and alerts.
- Integrating your smart devices creates a seamless home automation experience, allowing devices to work together for a smarter home.
- Encountering issues during installation is common but most problems have simple solutions. Always refer to the user manual or manufacturer's website for troubleshooting.
- Optimizing your smart home setup involves setting schedules, creating routines, and grouping devices for maximum efficiency.
- The smart home technology industry is continually evolving, with future trends leaning towards even more integration, AI development, and voice-command enhancements.
- SimpleDirect offers tools and resources to help you make the best financial decisions when investing in smart home technology.
- It's essential to research and choose the best devices for your needs and budget. Remember, the most expensive device isn't always the best for your specific requirements.
Smart Home Gadgets Installation
Looking to transform your traditional home into a smart haven?
With 69% of US households now owning at least one smart device and homeowners saving an average of $100-175 monthly on energy costs, smart home technology is no longer a luxury but a practical investment.
This guide will walk you through essential smart home gadget installations, whether you're starting with a basic smart thermostat or planning a complete home automation system.
Understanding the Benefits of Smart Home Devices
Home automation is not just a trend, it's a lifestyle change that offers numerous benefits, transforming the way we live and interact with our homes.
Here are some key advantages of smart home devices:
- Cost Savings:
• Smart thermostats: $50/month average savings
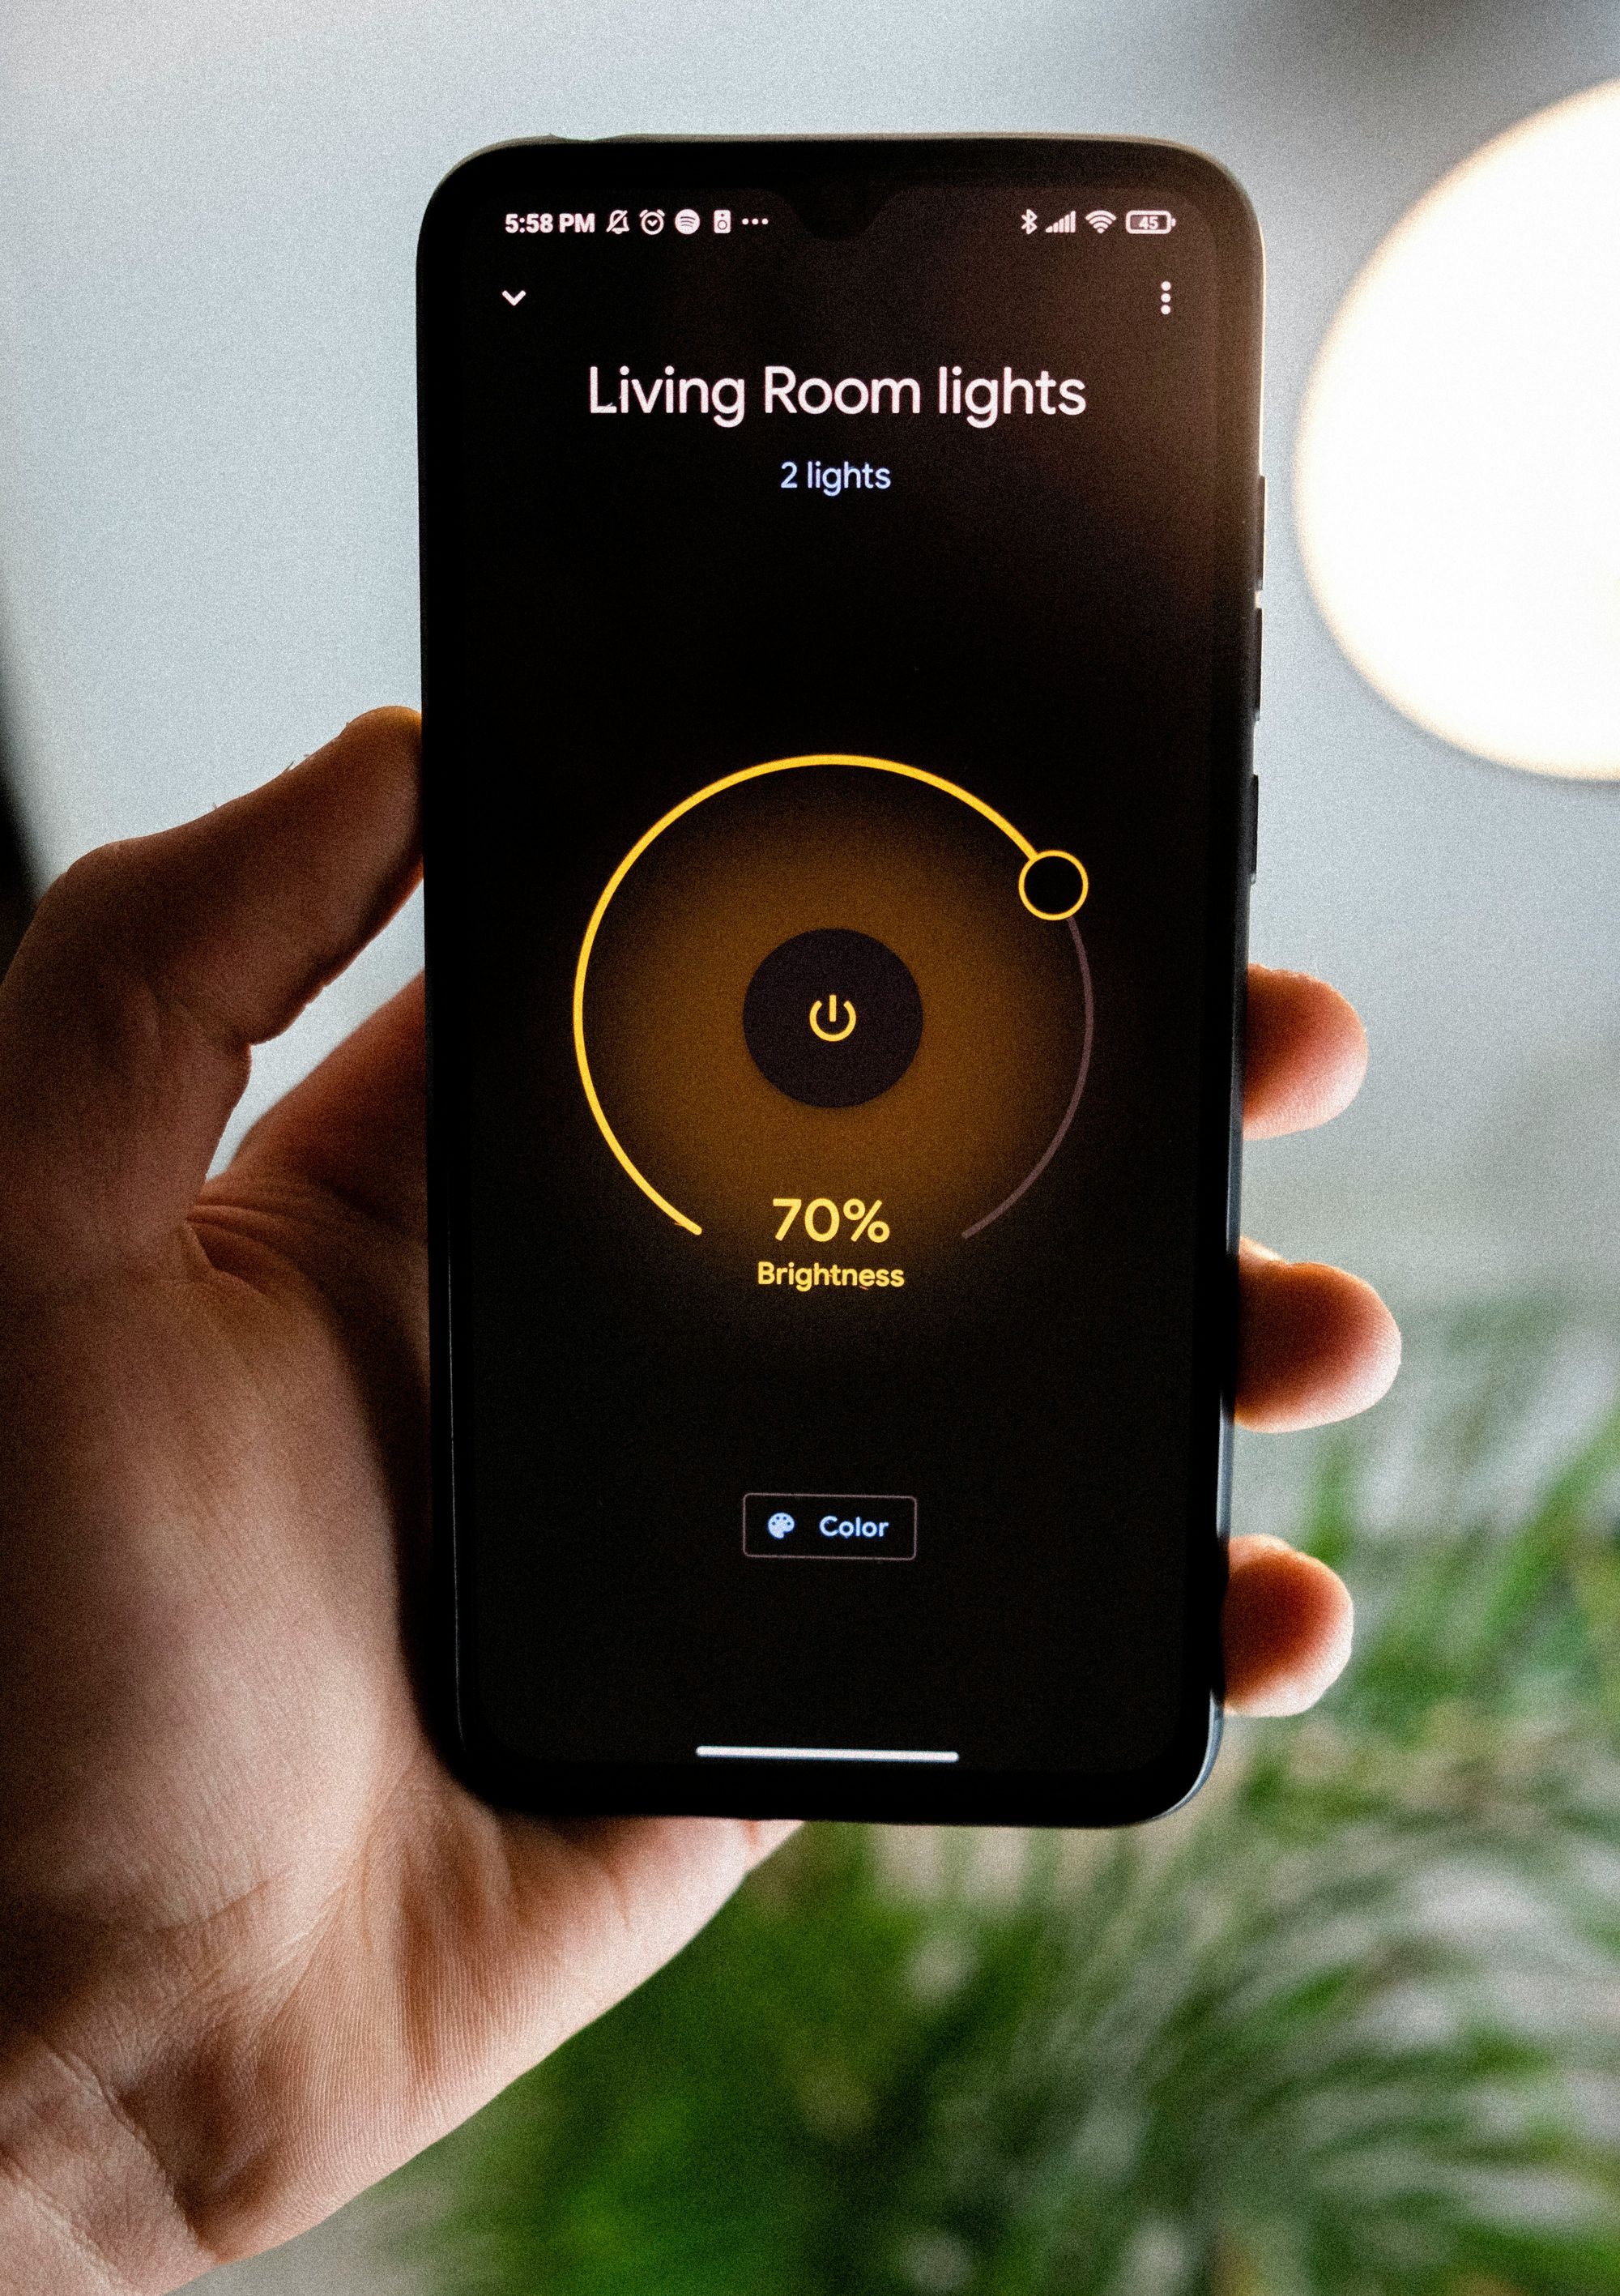
• Smart LED bulbs: 50-70% reduction in lighting costs
• Automated water systems: 15-30% lower water bills - Security Benefits:
• 300% reduction in break-in risks
• 95% prevention of porch theft
• 5-20% insurance discounts - Property Value:
• 20% faster home sales
• 75-125% ROI on smart improvements
• Top buyer requests:
- Security systems
- Climate control
- Smart lighting
- Video doorbells
In conclusion, smart home devices can enhance your life in numerous ways.
They offer unprecedented control over your home, leading to increased convenience, security, and cost savings.
By understanding these benefits, you can make informed decisions when installing smart home technology.
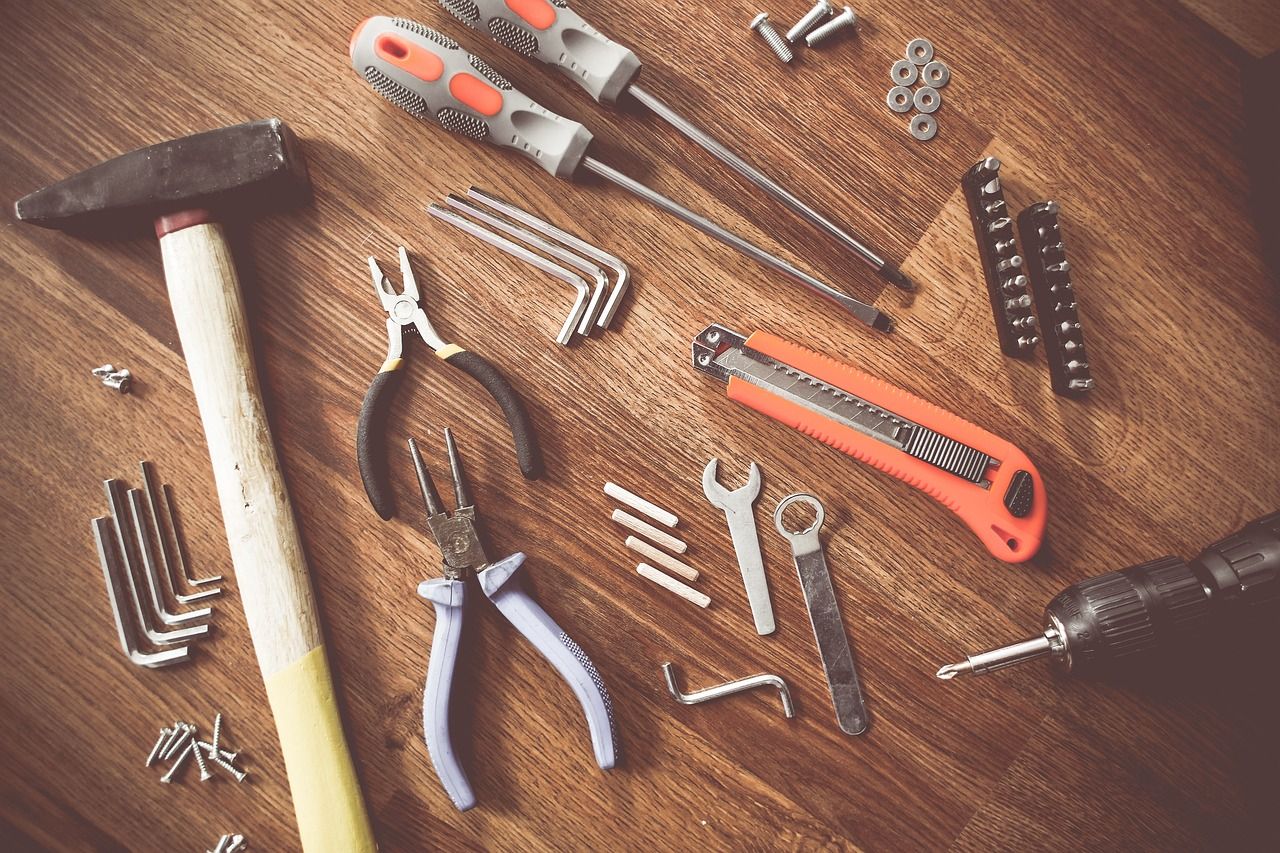
Essential Tools & Installation Guide for Smart Home Upgrades
Must-Have Tools for Installation:
Basic Equipment:
- Screwdriver set ($20-30)
- Power drill ($50-100)
- Wire strippers ($10-15)
- Level ($15-25)
- Stud finder ($20-30)
- Voltage tester ($15-20)
- Ethernet cable ($10-30)
🌡️ Step-by-Step Process to Smart Thermostat Installation:
(Example: Nest Learning Thermostat - $249)
- Safety First:
✓ Turn off power
✓ Gather tools
✓ Read manual - Remove Old Thermostat:
✓ Take photo of wiring
✓ Label all wires
✓ Remove carefully - Install New Device:
✓ Mount base plate
✓ Connect wires
✓ Attach display unit
✓ Test system
Cost Breakdown:
• Device: $249
• Basic tools: $140-250
• Professional installation: $100-250
• Total DIY cost: $389-499
• Total professional: $349-499
💡 Pro Tips:
• Keep wire labels
• Take photos
• Save manual
• Test before closing
• Keep old thermostat
Not confident? SimpleDirect offers financing for both equipment and professional installation!
Visit SimpleDirect to learn more about our home improvement loans starting at 7.99%. 🏠
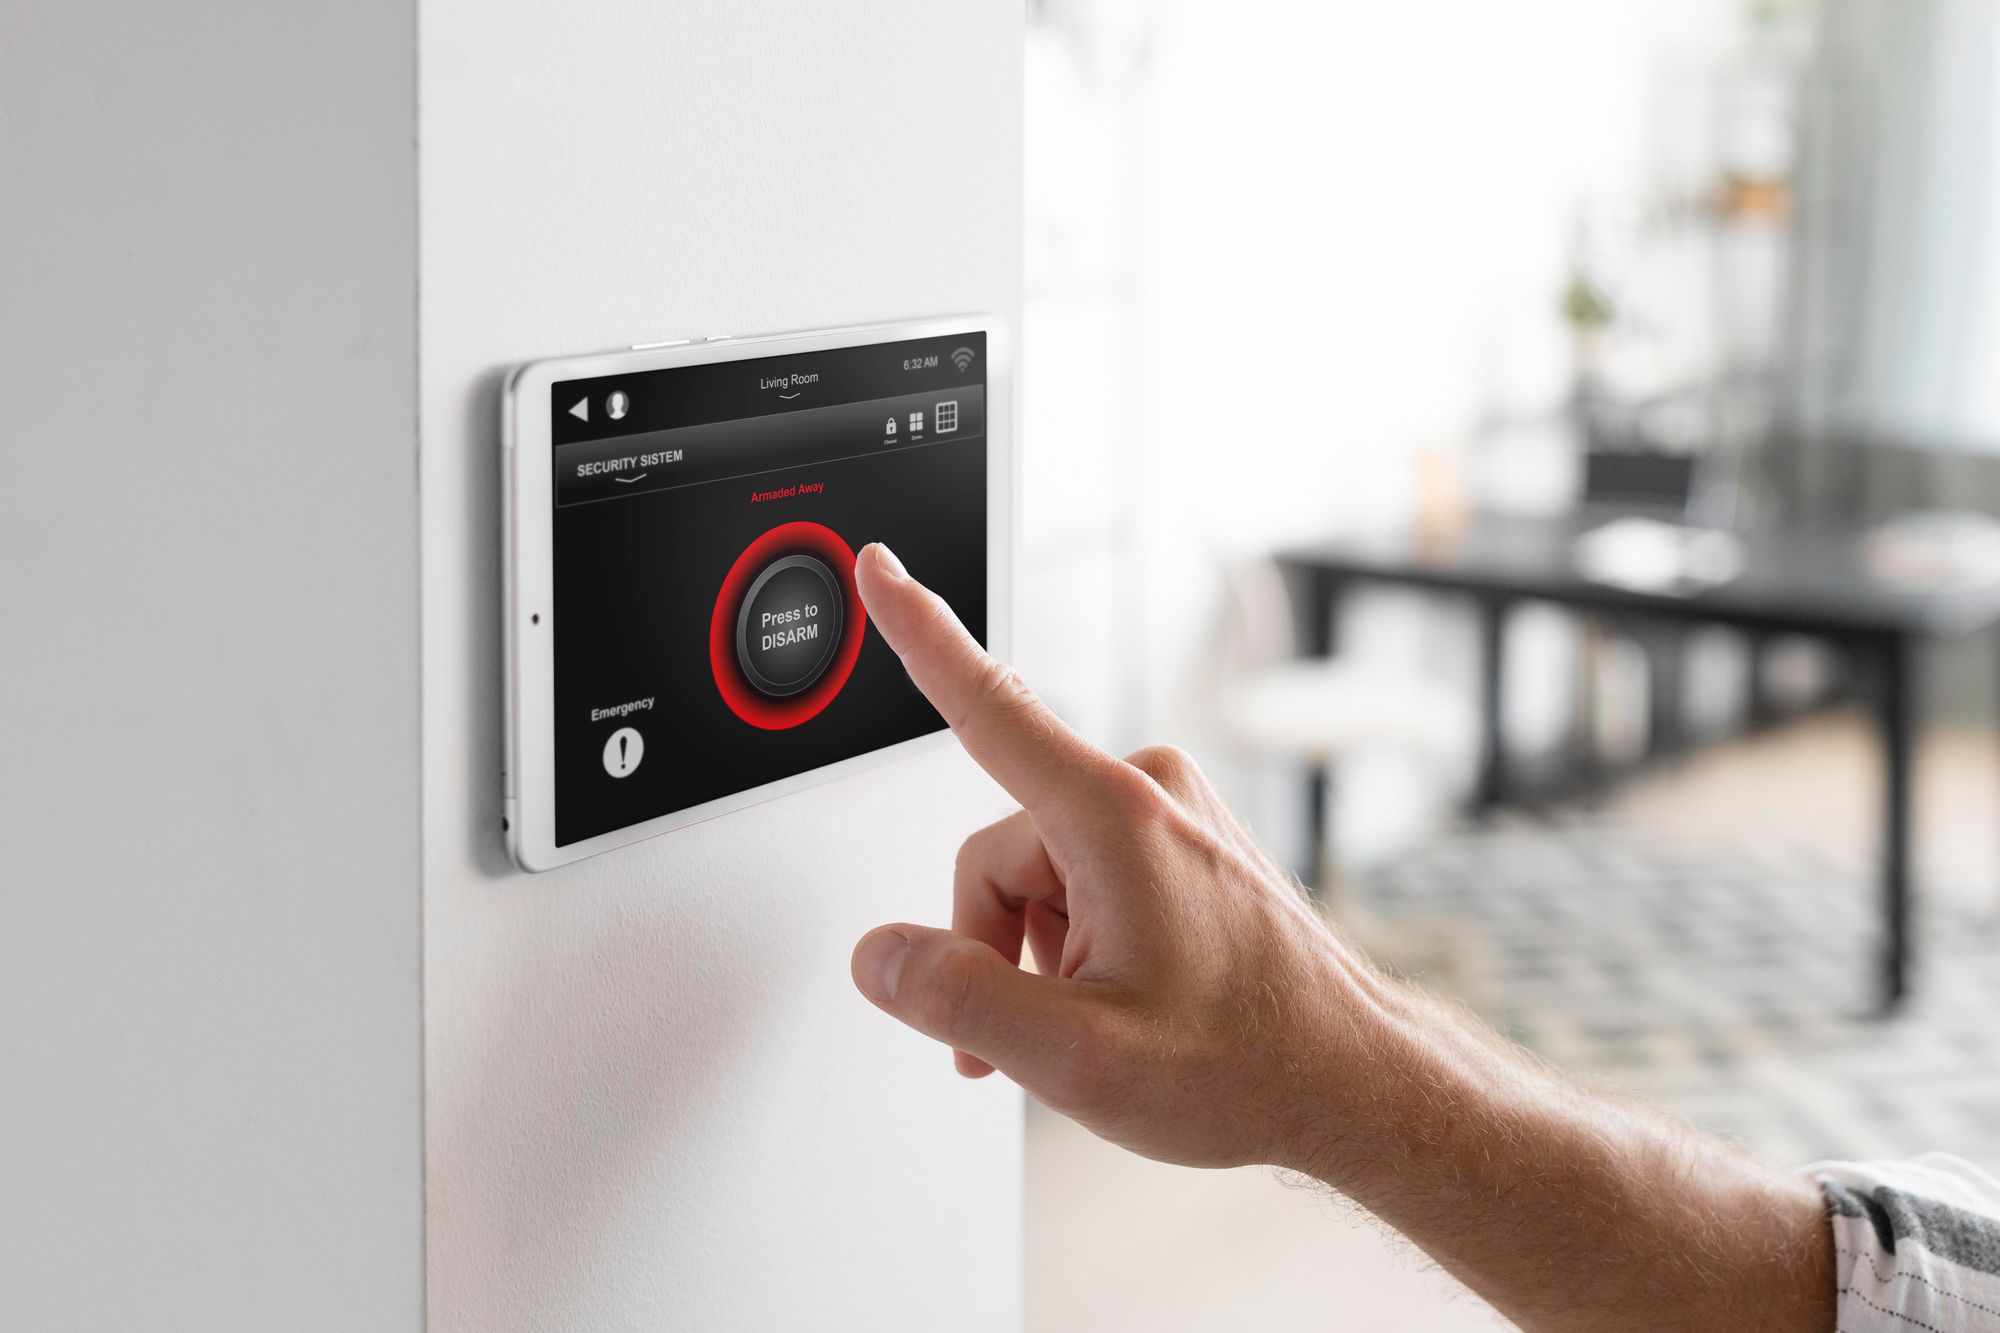
🚪 Smart Security Installation Guide: Doorbell & Cameras
Enhance your home security with these easy-to-follow installation guides!
📱 Step-by-Step Setup to installing Smart Ring Video Doorbell ($100):
- Preparation:
✓ Turn off power
✓ Remove old doorbell
✓ Charge new device - Installation:
✓ Connect wires
✓ Mount device
✓ Setup Wi-Fi
✓ Test system
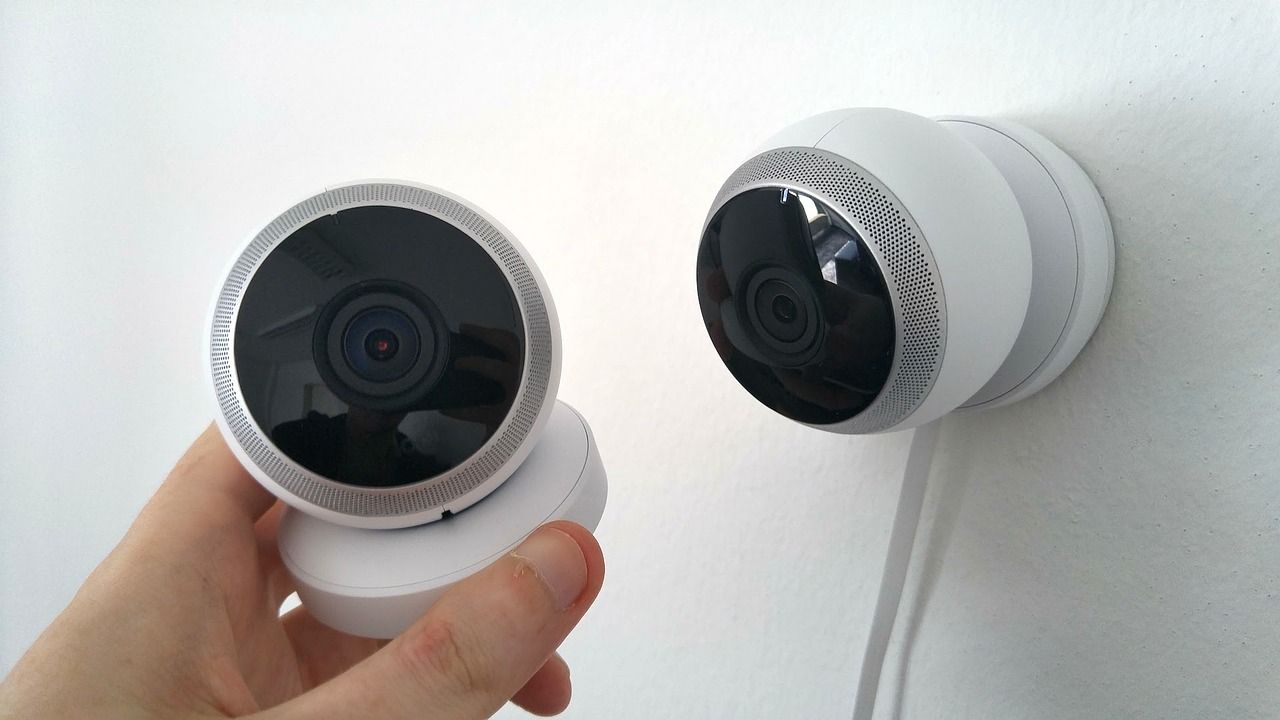
🎥 Security Camera Setup
Arlo Pro 3 ($200/camera):
Installation Steps:
- Planning:
• Choose locations
• Mark mounting spots
• Ensure Wi-Fi coverage - Mounting:
• Drill holes
• Install brackets
• Attach cameras
• Adjust angles
💡 Security Benefits:
- 20% reduction in burglaries
- Real-time monitoring
- Motion alerts
- Cloud storage
- Two-way communication
Cost Breakdown:
Basic Setup:
• Doorbell: $100
• 2 Cameras: $400
• Installation tools: $50
• Total DIY: $550
Professional Installation:
• Labor: $150-300
• Total: $700-850
Need financing for your security system? SimpleDirect offers:
• Loans up to $50,000
• Rates from 7.99%
• Quick approval
• Flexible terms
Visit SimpleDirect to secure your home security upgrade today!
🏠 Smart Home Integration & Optimization Guide
Creating Your Connected Home Experience:
💻 Essential Hub Options:
• Amazon Echo: $99
• Google Nest Hub: $90
• Apple HomeKit: $299
Step-by-Step Integration:
- Choose Your Hub:
✓ Compare features
✓ Check compatibility
✓ Consider budget - Device Setup:
✓ Connect to Wi-Fi
✓ Link to hub
✓ Create routines
✓ Test connections
🔧 Common Issues & Solutions:
Wi-Fi Problems:
- Move devices closer
- Reset router
- Check frequency bands
- Update firmware
Device Sync Issues:
- Verify compatibility
- Check network
- Update software
- Reset if needed
💡 Optimization Tips:
- Group by room
- Create schedules
- Monitor energy use
- Regular updates
- Secure network
Cost Overview:
Basic Setup:
• Hub: $90-299
• Smart plugs: $25-35 each
• Smart lights: $30-60 each
• Total starter kit: $250-500
Need financing for your smart home upgrade?
SimpleDirect offers:
• Quick approval
• Rates from 7.99%
• Flexible terms
• No prepayment penalties
Visit SimpleDirect to make your home smarter today!
Future of Smart Home Tech & Security Guide
📱 Future Innovations
- Advanced AI integration
- Improved voice recognition
- Cross-brand compatibility
- Enhanced security features
- Eco-friendly solutions
- Easier DIY installation
Expected Costs (2024-2025):
- AI-enabled devices: $150-300
- Voice systems: $100-200
- Security solutions: $200-500
- Green tech options: $300-1000
🔒 Security Best Practices:
Network Protection:
• Use WPA3 encryption
• Create separate networks
• Change default passwords
• Enable 2FA
• Regular updates
Cost of Security:
• Security router: $150-300
• Monitoring service: $10-30/month
• Password manager: $3-5/month
• Network protection: $50-100/year
💡 Pro Security Tips:
• Monitor network traffic
• Audit connected devices
• Secure physical access
• Review privacy settings
• Update firmware regularly
• Educate family members
SimpleDirect Protection:
• Financing for security upgrades
• Rates from 7.99%
• Quick approval
• Flexible terms
• Professional installation options
Ready to future-proof your smart home?
Visit SimpleDirect to explore financing options for the latest smart home security solutions!
Smart Home Compatibility Guide & Conclusion
Solving Common Device Integration Challenges:
🔌 Compatibility Issues:
• Different protocols
• Ecosystem limitations
• Software mismatches
• Hardware restrictions
Smart Solutions:
- Universal Compatibility:
• Choose Wi-Fi/Bluetooth
• Look for certification marks
• Check compatibility charts
• Research before buying - Hub Integration:
• Samsung SmartThings ($70)
• Amazon Echo Plus ($150)
• Apple HomeKit ($299)
• Protocol bridges ($50-100) - Software Solutions:
• IFTTT (Free/Premium $10/month)
• Home Assistant
• OpenHAB
• Custom automation
💡 Pro Integration Tips:
• Regular updates
• Reconfigure as needed
• Join online communities
• Document your setup
Final Thoughts
Smart homes offer:
• Enhanced convenience
• Improved security
• Energy savings
• Future-ready living
SimpleDirect Support
• Financing from 7.99%
• Professional consultation
• Installation assistance
• Flexible payment terms
Ready to create your perfect smart home?
Visit SimpleDirect to explore financing options for a fully integrated system. Our experts can help you choose compatible devices and plan your setup! 🏠
Remember: Success comes from careful planning and choosing the right components for your needs.
Frequently Asked Questions
- What is the best smart home system?
The "best" system depends on your needs and preferences. Popular choices include Google Home, Amazon Alexa, and Apple HomeKit. Each offers unique features and is compatible with different devices. - Can I install smart home devices myself?
Yes, most smart home devices are designed for DIY installation. Instructions are typically provided with the product, and many manufacturers also offer online tutorials and customer support. - What are some common smart home devices?
Common smart home devices include smart speakers, thermostats, lights, plugs, security cameras, and locks. Each contributes to making your home more convenient, efficient, or secure. - Do all smart home devices need Wi-Fi?
Most smart home devices need a Wi-Fi connection to function fully. However, some can also operate through Bluetooth or proprietary wireless technologies. - How secure are smart home devices?
While no device is completely immune to cyber threats, reputable brands take significant measures to ensure their devices are secure. Regularly updating your devices, using strong passwords, and enabling two-factor authentication can further enhance security. - Can smart home devices save energy?
Yes, many smart devices can optimize energy usage, like smart thermostats that adjust temperatures based on your habits, or smart plugs that switch off appliances when they're not in use.