

Key Takeaways
- DIY furniture makeovers are an affordable and creative solution to refresh your living spaces.
- Proper budgeting is crucial to successfully carry out furniture refurbishing projects without breaking the bank.
- Several places offer affordable old furniture that can be transformed with a little creativity and effort.
- Learning to reupholster a chair or refinish a wood table on a budget can significantly cut down your furniture costs.
- Repainting bedroom furniture can give your space a brand new look without needing to invest in new pieces.
- There are various financing options available specifically tailored for DIY furniture projects. Exploring these can make your project more feasible.
- Purchasing upholstery fabric need not be expensive. There are effective ways to save money while buying these materials.
- The right tools and supplies are key to a successful furniture refurbishing project. There are affordable options available that don't compromise on quality.
- Smart financing and budgeting are key to achieving stunning furniture makeovers without spending a fortune.
- With a little creativity, effort, and financial planning, you can transform your space while also making smart financial decisions.
Introduction to Smart Financing for DIY Furniture Makeovers
In a world where DIY (Do-It-Yourself) projects have become a popular trend, one area that has seen a significant increase in interest is furniture makeovers. Whether it's to breathe new life into old pieces, or to create something unique for your living space, DIY furniture makeovers have become a creative and cost-effective solution for many homeowners.
However, even as a DIY project, furniture makeovers can still come with a considerable price tag. From purchasing old furniture, to buying the necessary tools and supplies, to the actual time spent on refurbishing - the costs can quickly add up. This is where smart financing comes into play.
Smart financing in the context of DIY furniture makeovers refers to the strategic planning and allocation of funds for your project. The key benefits of smart financing include avoiding overspending, ensuring the sustainability of your project, and ultimately, realizing your vision without breaking the bank.
For a successful DIY furniture makeover, smart financing is just as important as creativity and craftsmanship. It not only guides your purchasing decisions but also determines the overall feasibility and outcome of your project. With the right tips and tricks, smart financing can help you achieve stunning furniture makeovers while sticking to your budget.
This article is designed to guide you through the process of smart financing for your DIY furniture makeover, providing practical tips, step-by-step guides, and resourceful information to help you make the most out of your budget. Whether you're a seasoned DIY enthusiast or a beginner looking to take on your first project, this comprehensive guide will help you navigate the financial aspects of your furniture makeover with ease and confidence.

Budgeting Tips for Your Furniture Refurbishing Projects
Budgeting is a crucial aspect when undertaking furniture refurbishing projects. It not only prevents overspending but also promotes strategic decision-making, thereby ensuring you get the most out of your investment. Moreover, a well-planned budget will help you prioritize your needs, manage your resources better, and maintain the overall feasibility of your project. Here are a few practical tips to help you budget for your next furniture makeover:
- Assess Your Needs: Before starting a project, determine what you need. This includes the furniture piece, tools, and supplies. Make a list of these items and estimate their costs.
- Setting a Budget: Once you have a clear understanding of your needs, set a realistic budget. This should include a contingency for unexpected expenses.
- Cost Comparison: Don't rush into buying materials. Compare prices across different stores, both online and offline. Look out for sales and discounts to get the best deals.
- Reuse and Recycle: Consider reusing materials from previous projects, or recycling old furniture pieces. This can significantly cut down your costs.
- DIY Over Professional Services: Learning new skills can save you money. Instead of hiring professionals, try doing tasks like painting or reupholstering yourself. There are numerous online tutorials to guide you.
By following these tips, you can ensure your DIY furniture makeovers are not just creative and satisfying, but also financially smart.
Where to Find Affordable Old Furniture for Makeovers
Finding affordable old furniture for your DIY makeovers can be an exciting adventure. While the price range can vary considerably based on the condition, age, and type of furniture, you can often find great deals if you know where to look.
- Thrift Stores: These are treasure troves for DIY enthusiasts. You can find a wide range of furniture, from dressers to chairs, often priced between $10 and $50. Some stores even have regular sales, offering even greater discounts.
- Garage Sales: These are another excellent source of affordable furniture. People often sell high-quality pieces at a fraction of their original price. The average price range at garage sales can fall between $5 and $100, depending on the item and its condition.
- Online Marketplaces: Websites like Craigslist, eBay, and Facebook Marketplace are platforms where people sell used items, including furniture. Prices can vary widely, but you can often negotiate with sellers.
- Estate Sales: These sales often occur when someone moves or passes away, and they need to sell most of their belongings. Prices can range from $20 to several hundred dollars, but you can often find unique, high-quality pieces.
- Flea Markets: These markets offer a vast array of items, including furniture, with prices usually falling between $10 and $75.
- Auctions: Auctions, both online and physical, can be a great place to find quality furniture at a lower cost. However, prices can vary widely based on the rarity and condition of the item.
Remember, when buying used furniture, always inspect the item thoroughly for any damages or issues. Factor in any repair costs into your overall budget to ensure smart financing for your DIY furniture makeovers.
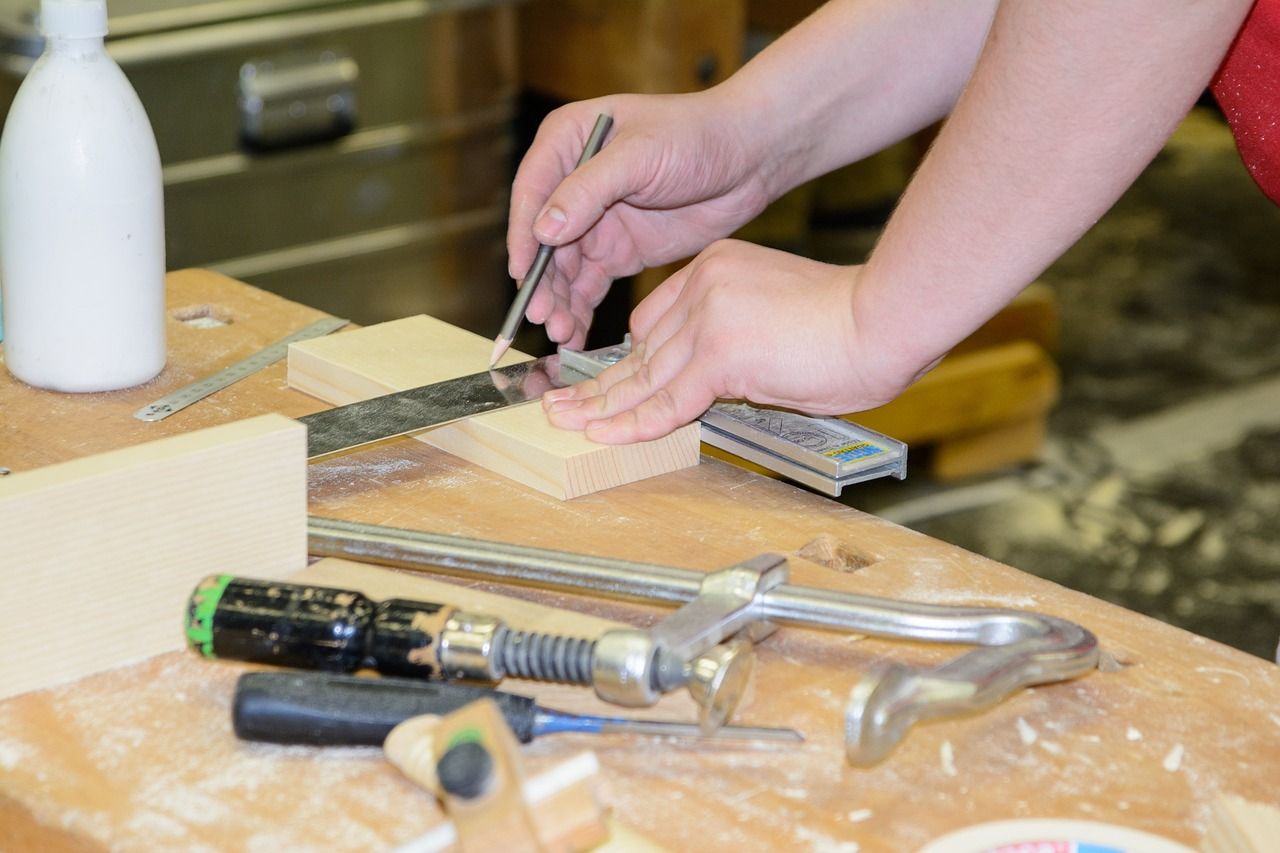
Step-by-Step Guide to Reupholstering a Chair on a Budget
Checklist for Reupholstering a Chair:
- Tools Needed:
- Staple gun and staples
- Screwdriver
- Scissors
- Seam ripper
- Materials Needed:
- Fabric (3-5 yards depending on chair size)
- Foam padding (if replacement is needed)
- Thread (if sewing is required)
- Preparation Steps:
- Clear a workspace and lay out tools and materials
- Take 'before' photos to compare with the finished product
Reupholstering a chair can be a cost-effective way to give new life to an old piece of furniture. Here's a detailed guide on how you can do it on a budget:
Step 1: Choose Your Chair and Fabric
Start by selecting a chair. You can pick an old chair from your home, or find an affordable one from thrift stores, yard sales, or online marketplaces like Craigslist or eBay. Depending on the condition, you can bag a decent chair for anywhere between $10 to $50.
Next, choose your fabric. Check out fabric stores for discounts or sales. You'll need about 3-5 yards for a standard chair, which could cost anywhere from $15 to $50 depending on the material.
Step 2: Gather Your Tools
You'll need a few tools: a staple gun, staples, scissors, a screwdriver, and possibly a seam ripper. If you don't already have these, they can be purchased for around $30.
Step 3: Remove the Old Upholstery
Start by removing the old fabric from the chair. Use your screwdriver to remove any screws holding the chair together, and the seam ripper or scissors to carefully cut away the old fabric.
Step 4: Cut the New Fabric
Lay out your new fabric and place the old pieces on top as templates. Cut around the old pieces, leaving an extra inch for seam allowance.
Step 5: Attach the New Fabric
Start with the chair seat. Pull the fabric tight and staple it to the chair's frame. Do the same for the chair back and any other upholstered parts. Make sure the fabric is smooth and tight.
Step 6: Reassemble the Chair
Once all the pieces are covered, reassemble the chair using the screws you removed earlier.
Voila! You've successfully reupholstered a chair on a budget. The total cost, assuming you had to buy everything, would be around $55 to $130. But remember, many of these costs are one-time purchases or can be reduced by using materials you already have.
By doing this yourself, not only do you save money, but you also gain a new skill and the satisfaction of breathing new life into an old chair.
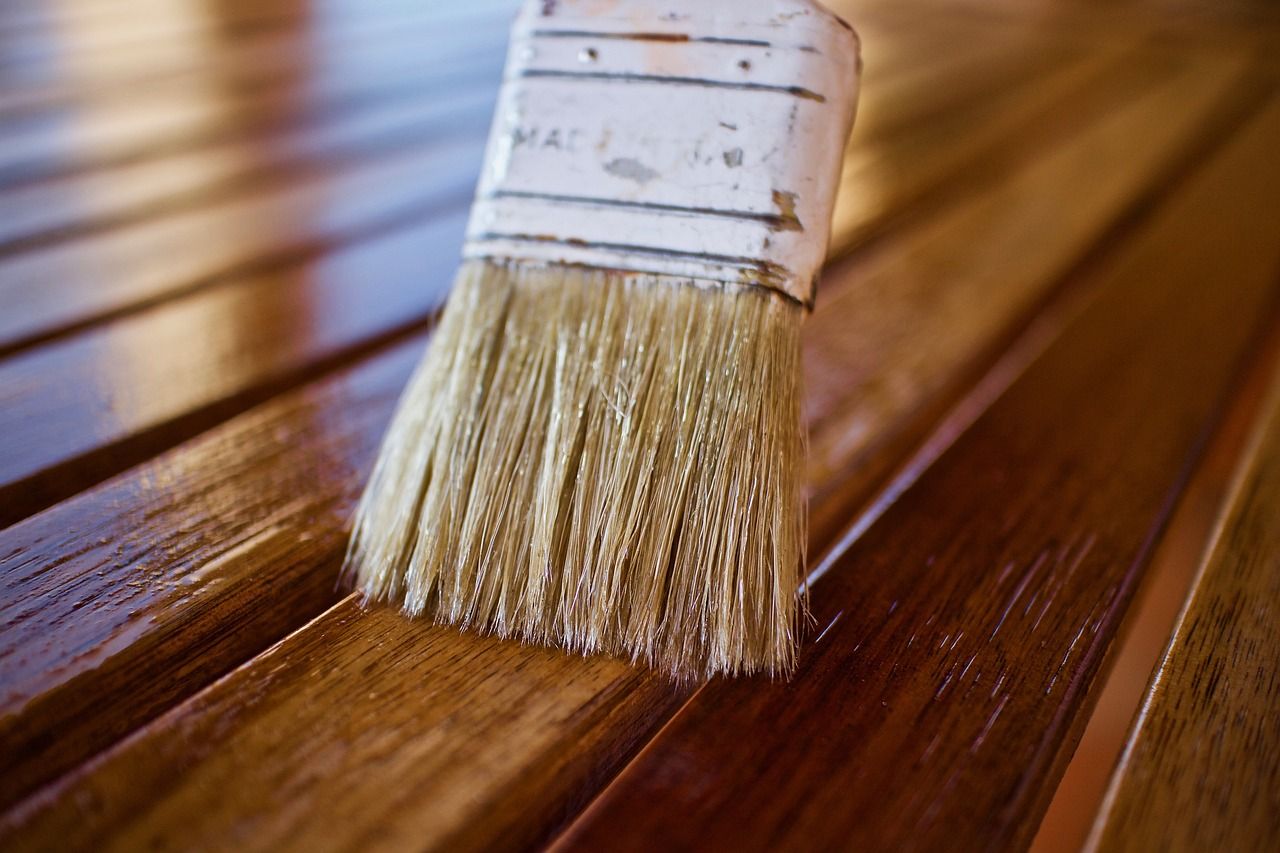
Cost-Effective Methods for Refinishing a Wood Table
Checklist for Refinishing a Wood Table:
- Tools Needed:
- Sandpaper (120 and 220 grit)
- Brushes or sponges for applying stain and finish
- Materials Needed:
- Wood cleaner
- Wood stain
- Clear finish
- Preparation Steps:
- Ensure proper ventilation in your work area
- Protect surrounding areas with drop cloths or newspapers
Refinishing a wood table can breathe new life into your furniture and enhance the overall aesthetic of your space. Here's a cost-effective method to transform your worn-out table into a charming piece of furniture.
Estimated cost:
- Wood Cleaner: $10
- Sandpaper (120 and 220 grit): $10
- Wood Stain: $15
- Clear Finish: $15
- Brushes: $10
Total: $60
Step 1: Cleaning
Start by cleaning your table thoroughly. Use a wood cleaner to remove dirt and grime. This not only prepares the table for sanding but also helps you spot any major defects or areas that need extra attention.
Step 2: Sanding
Using 120-grit sandpaper, begin sanding the surface of your table. Ensure you sand along the grain and not against it, to avoid creating scratches. Sanding removes the old finish and smoothens the table's surface.
Step 3: More Sanding
Switch to a finer, 220-grit sandpaper and sand the table again. This step will help remove any remaining old finish and prepare the wood to accept new stain evenly.
Step 4: Staining
Choose a wood stain that complements your decor. Using a brush, apply the stain along the grain. Wait for the stain to penetrate the wood - this can take from 5 to 15 minutes. Then, wipe off the excess stain with a clean cloth.
Step 5: Finishing
Once the stain is completely dry, apply a clear finish to protect the wood and enhance its beauty. Apply the finish in long, even strokes along the grain. Allow it to dry overnight and then lightly sand the table with 220-grit sandpaper. Wipe off the dust and apply a second coat of finish.
Through this method, you've transformed your table at a relatively low cost, adding value and charm to your space. This project demonstrates that with a bit of time and effort, you can achieve professional-looking results on a budget.

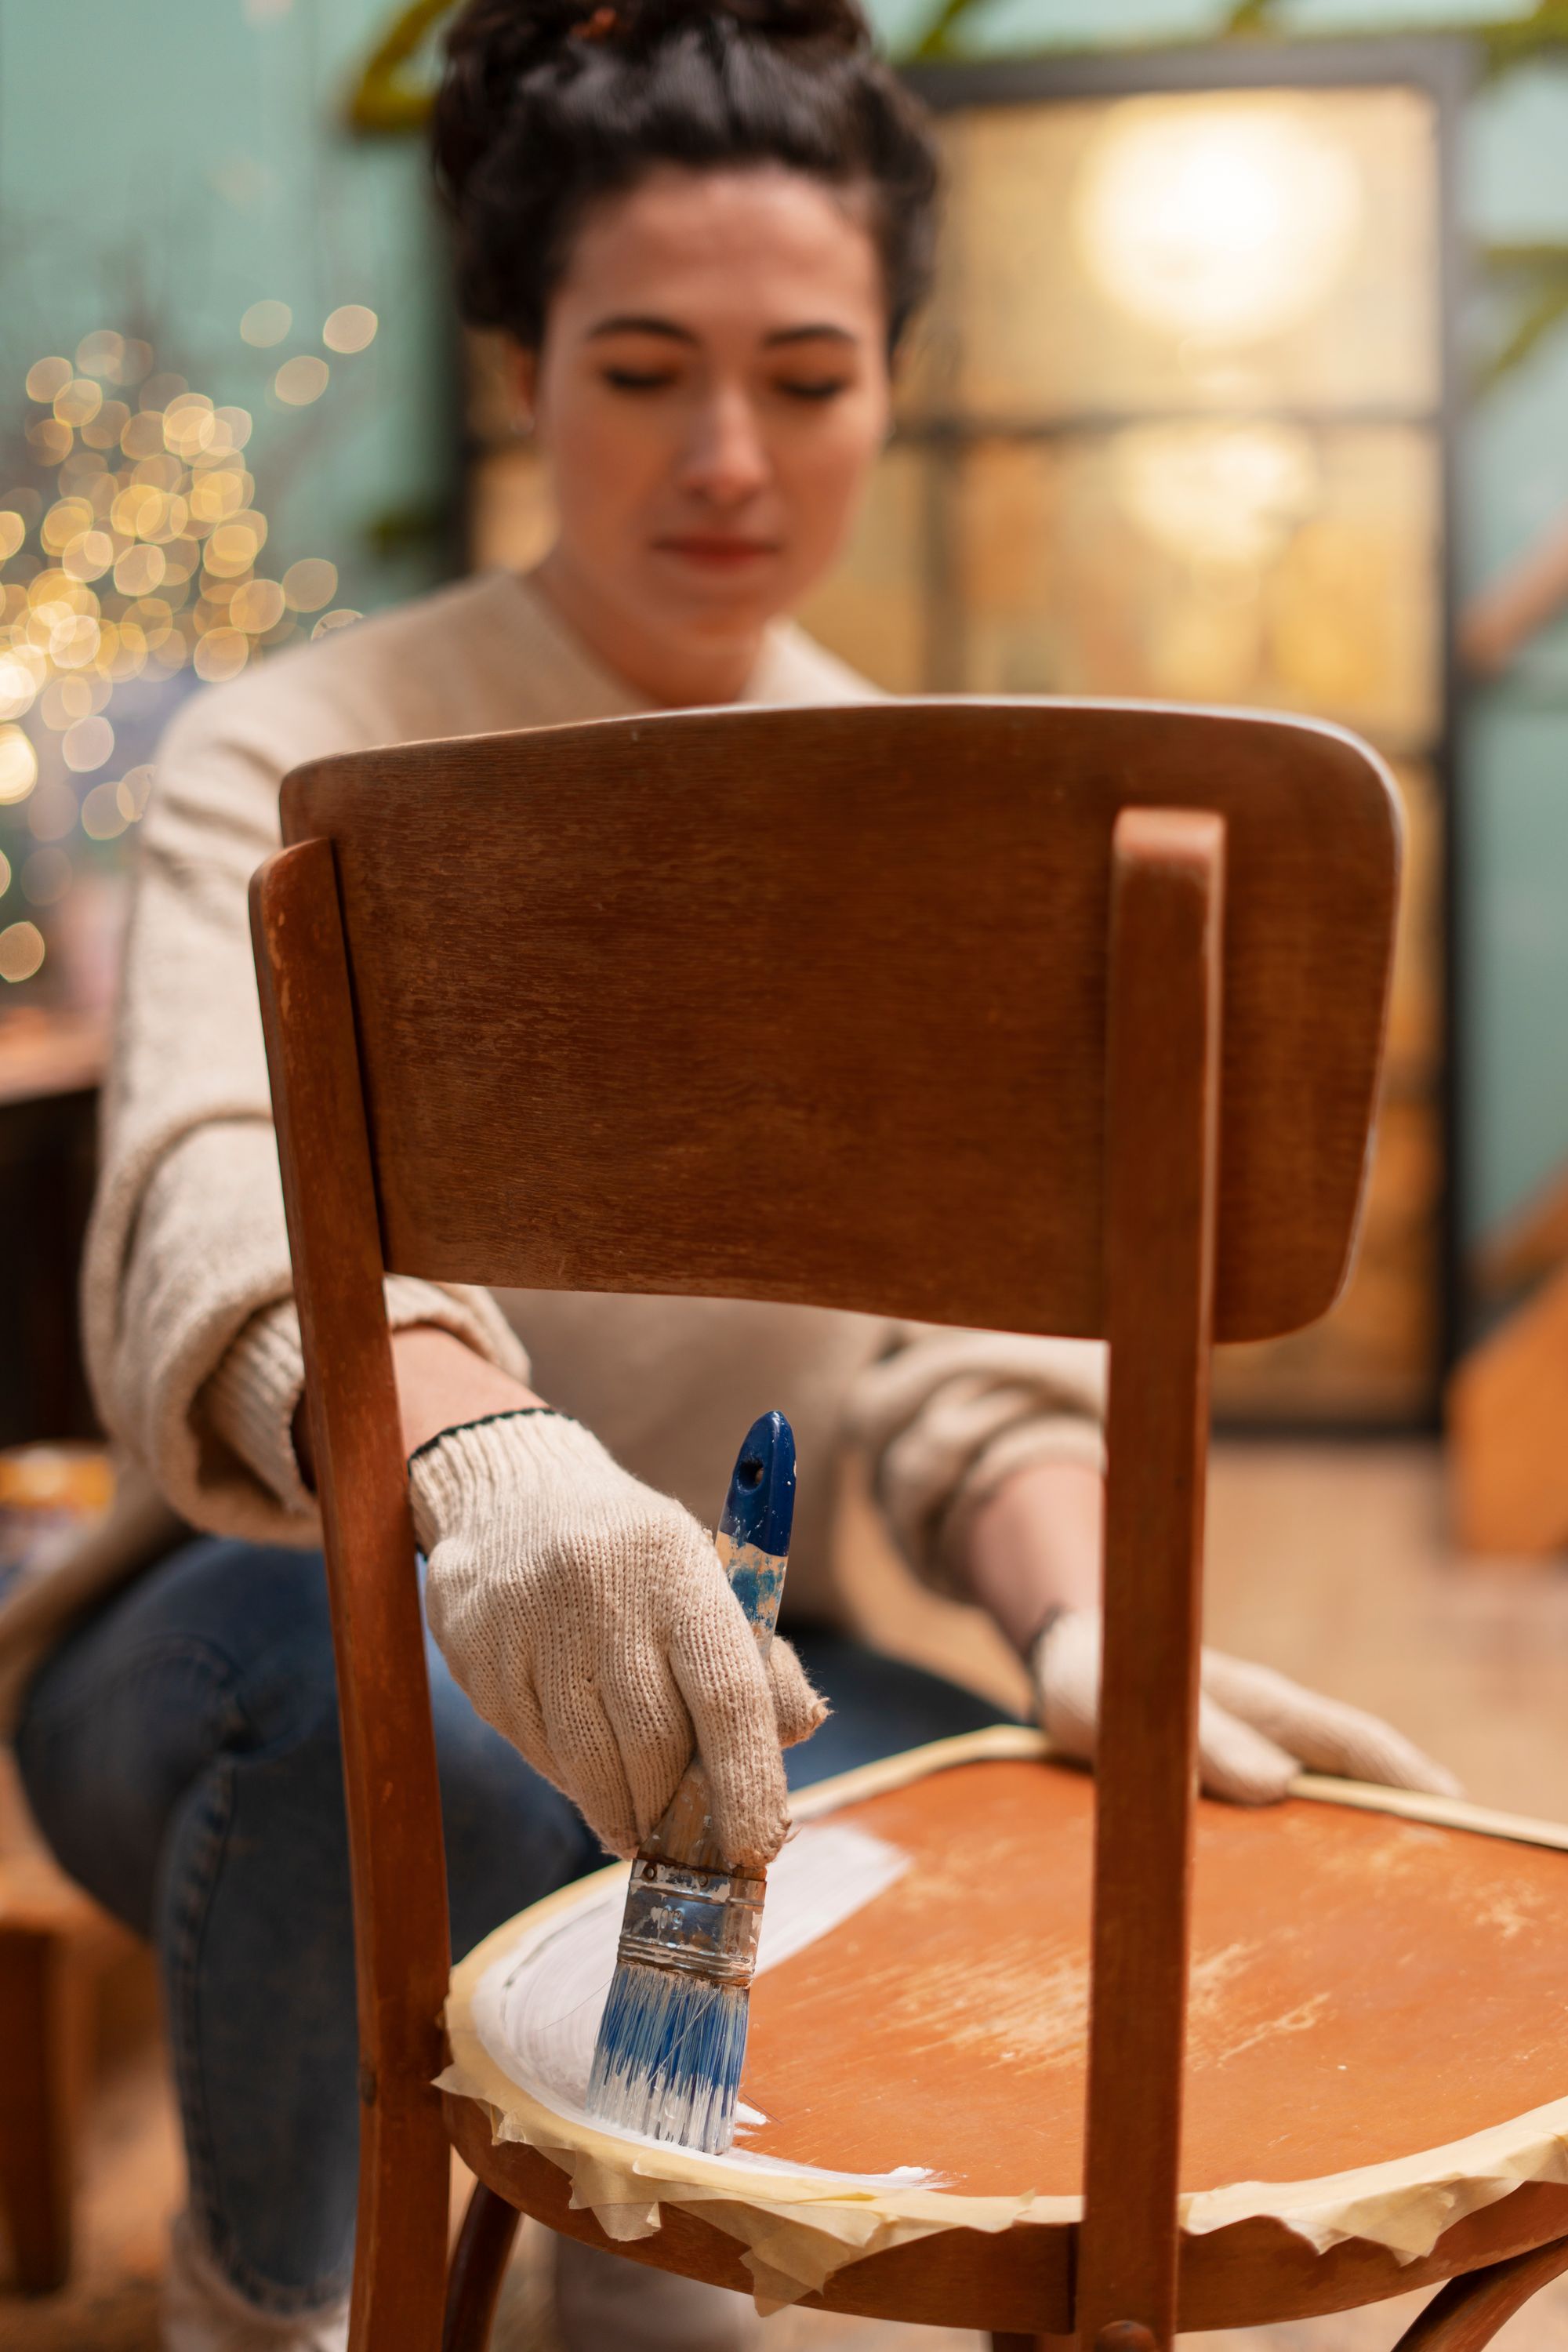
How to Repaint Bedroom Furniture: A Budget-Friendly Guide
Repainting your bedroom furniture is an excellent way to revamp your space without breaking the bank. Here's a budget-friendly guide to help you through the process.
Step 1: Prepare the Furniture
First, remove any hardware (like knobs or handles) from the furniture. Then clean the furniture with a mild detergent to remove any dirt or grime. For safety, set up your work area in a well-ventilated space and put on your safety gear.
Step 2: Sanding
Next, sand the furniture using medium-grit sandpaper. This step helps the paint adhere to the surface better. Remember to wipe off the dust after sanding.
Step 3: Primer
Apply a coat of primer on the furniture. Primers can cost between $10-$20 per quart, but they're essential in ensuring the paint job lasts longer.
Step 4: Painting
Once the primer is dry, you can start painting. Use a foam roller for larger areas and a brush for smaller details. You can find a good quality paint for about $15-$30 per quart. Let the first coat dry before applying the second.
Step 5: Protecting
Finally, apply a protective finish to seal the paint and add durability. You can use a clear, water-based polyurethane, which costs around $12-$20 per quart.
Cost Breakdown:
- Safety gear: $10-$20
- Sandpaper: $5-$10
- Primer: $10-$20
- Paint: $15-$30
- Protective finish: $12-$20
- Brushes and rollers: $5-$10
Total cost: $57-$110
Potential Savings
If you consider that a new piece of bedroom furniture can range from $200 to $1000 or more, taking the DIY route can bring considerable savings. Depending on the original price of the furniture piece, you can save anywhere from 70% to 90%.
Remember that the key to a successful furniture makeover lies in patience and attention to detail. With these steps, you'll be able to transform your bedroom furniture at a fraction of the cost of buying new pieces.
Detailed Financial Breakdowns
A crucial aspect of undertaking DIY furniture projects is understanding the financial implications and benefits. Providing detailed financial breakdowns can give readers a clearer picture of the cost savings associated with DIY furniture makeovers compared to purchasing new furniture. This section will explore typical costs involved in DIY projects, compare these with the costs of new furniture, and discuss the potential Return on Investment (ROI) and long-term savings.
Cost Comparison: DIY vs. New Purchase
Let's consider the example of refurbishing an old wood dining table versus buying a new one:
- Cost of a New Wood Dining Table:
- Average Retail Price: $800 - $1,200
- Cost of DIY Refurbishing an Old Table:
- Wood cleaner: $10
- Sandpaper: $10
- Wood stain: $15
- Clear finish: $15
- Brushes: $10
- Total DIY Cost: $60
In this example, the DIY approach saves approximately $740 to $1,140, which demonstrates a significant cost benefit.
ROI Calculation
To calculate the ROI of a DIY project:
ROI (%)=(Cost of Buying New−DIY CostDIY Cost)×100
ROI (%)=(DIY CostCost of Buying New−DIY Cost)×100
Using the dining table example:
ROI (%)=(800−6060)×100=1233%
ROI (%)=(60800−60)×100=1233%
This ROI indicates that for every dollar spent on the DIY project, the return is about $12.33 when considering the avoided cost of buying new.
Long-Term Savings
Beyond the immediate cost savings and high ROI, engaging in DIY furniture makeovers can also lead to long-term financial benefits:
- Skill Development: Acquiring skills in furniture refurbishment can save money on future furniture purchases and repairs.
- Increased Furniture Lifespan: Properly maintained DIY refurbished furniture can last longer than lower-quality new purchases, delaying future furniture expenses.
- Customization: DIY projects allow for customization that might be far more expensive if commissioned.
Top Financing Options for DIY Furniture Projects
When undertaking DIY furniture projects, sometimes the costs can add up. Knowing your financing options can be a lifesaver. Here are some options:
- Personal Savings: This is the most straightforward and cost-effective method. It involves using your saved money to finance the project.
- Credit Cards: Using a credit card can be convenient, especially if you already have one. Some credit cards offer rewards or cash back on purchases.
- Personal Loans: These are unsecured loans that you can use for any purpose, including your DIY project. They usually have fixed interest rates and a set repayment period.
- Home Equity Loan: If you're a homeowner with equity in your home, you can consider this type of loan. It has lower interest rates than personal loans and credit cards.
Comparison Table:
Financing Option | Pros | Cons |
Personal Savings | No interest or fees | Limited by your saving capacity |
Credit Cards | Convenient, potential rewards | High-interest rates if not paid in full |
Personal Loans | Fixed interest rates, no collateral needed | Higher interest rates, requires good credit |
Home Equity Loan | Lower interest rates, can borrow more | Puts your home at risk, longer repayment period |
By understanding these financing options, you can choose the one that suits your situation and ensures your DIY furniture project doesn't break your bank.
Money-Saving Tips for Buying Upholstery Fabric
Upholstery fabric is a crucial element of any furniture restoration project. However, the costs can quickly add up. On average, upholstery fabric can cost anywhere from $20 to $60 per yard, depending on the material and design. Here are some practical tips to save money when buying upholstery fabric:
- Buy in Bulk: If you have multiple pieces to upholster, buying fabric in bulk could save you a significant amount. Retailers often offer discounts for larger purchases.
- Shop Sales and Discounts: Keep an eye out for sales at fabric stores and online retailers. End-of-season or clearance sales can offer substantial savings.
- Opt for Remnants: Fabric remnants, which are end-of-the-roll pieces, are often sold at a discount. If your project is small, these could be a cost-effective option.
- Choose Synthetic Fabrics: Synthetic fabrics, like polyester blends, are typically cheaper than natural fabrics like silk or leather. They're also durable and easy to clean.
- DIY Fabric Paint: If you're on a tight budget, consider using fabric paint to transform plain, inexpensive fabric into a custom look.
By employing these money-saving strategies, you can potentially save up to 40%-60% on your upholstery fabric costs. This enables you to achieve your desired look without overspending, making your DIY upholstery project more budget-friendly.
Affordable Tools and Supplies for Furniture Refurbishing
Refurbishing furniture can be a rewarding DIY project, but it requires the right tools. Here are some essential tools and supplies along with affordable options and where to find them:
- Safety Gear:
Safety glasses, gloves, and a dust mask are essential. These items protect you from dust and harmful chemicals. You can find affordable options at your local hardware store or online at retailers like Amazon or Home Depot, typically priced from $5 to $20. - Sandpaper:
Different types of sandpaper with varying grit levels are vital for preparing your furniture. A pack of assorted sandpaper generally costs between $5 and $10 and can be found at local hardware stores or online. - Primer:
A good primer creates a smooth base for your paint. Look for deals at your local paint or hardware store, or online. Prices range from $10 to $20 per quart. - Paint:
Choose a high-quality paint for a lasting finish. You can find good, affordable options at paint stores, hardware stores, or online. Prices range from $15 to $30 per quart. - Paint Brushes and Rollers:
Foam rollers and brushes are perfect for applying paint and primer. These can be found for as little as $1 each at dollar stores, or in sets ranging from $5 to $10 at hardware stores or online. - Protective Finish:
A clear, water-based polyurethane will protect your work. Available at hardware stores or online, it typically costs between $12 and $20 per quart.
Refurbishing furniture doesn't have to be expensive. By doing some research and shopping around, you can find affordable tools and supplies that will help you create beautiful, revitalized pieces without breaking the bank.
Conclusion: Maximizing Your Budget for Stunning Furniture Makeovers
In sum, taking on a DIY furniture makeover project doesn't have to break the bank. By understanding your financing options, making savvy decisions when buying upholstery fabric, and knowing where to find affordable tools and supplies, you can create stunning furniture transformations while staying within your budget.
Personal savings, credit cards, personal loans, and home equity loans all have their advantages, as well as drawbacks. Consider what makes the most sense for your situation. Saving money on upholstery fabric can also significantly impact your budget. By shopping sales, buying in bulk, or opting for fabric remnants, you can cut costs without compromising quality.
The right tools and supplies are crucial for a successful refurbishment project. While some may seem pricey, remember that many of these are one-time investments that can be used for multiple projects. Look for sales at your local hardware store, consider buying used tools, or borrow from friends or family if possible.
Remember, smart budgeting and financing are just as important as your creativity and craftsmanship in these projects. They allow you to bring your vision to life without causing financial stress. So, don't let the potential costs discourage you. With careful planning and smart shopping, you can turn a worn-out piece of furniture into a beautiful centerpiece for your home.
In the end, it's about more than just saving money. It's about the satisfaction of creating something beautiful with your own hands, learning new skills, and perhaps even discovering a new hobby. So why wait? Start planning your DIY furniture makeover project today!