Wood Preservation 101: Guard Against Rot
Wood rot is a common problem that can cause significant damage to wooden structures

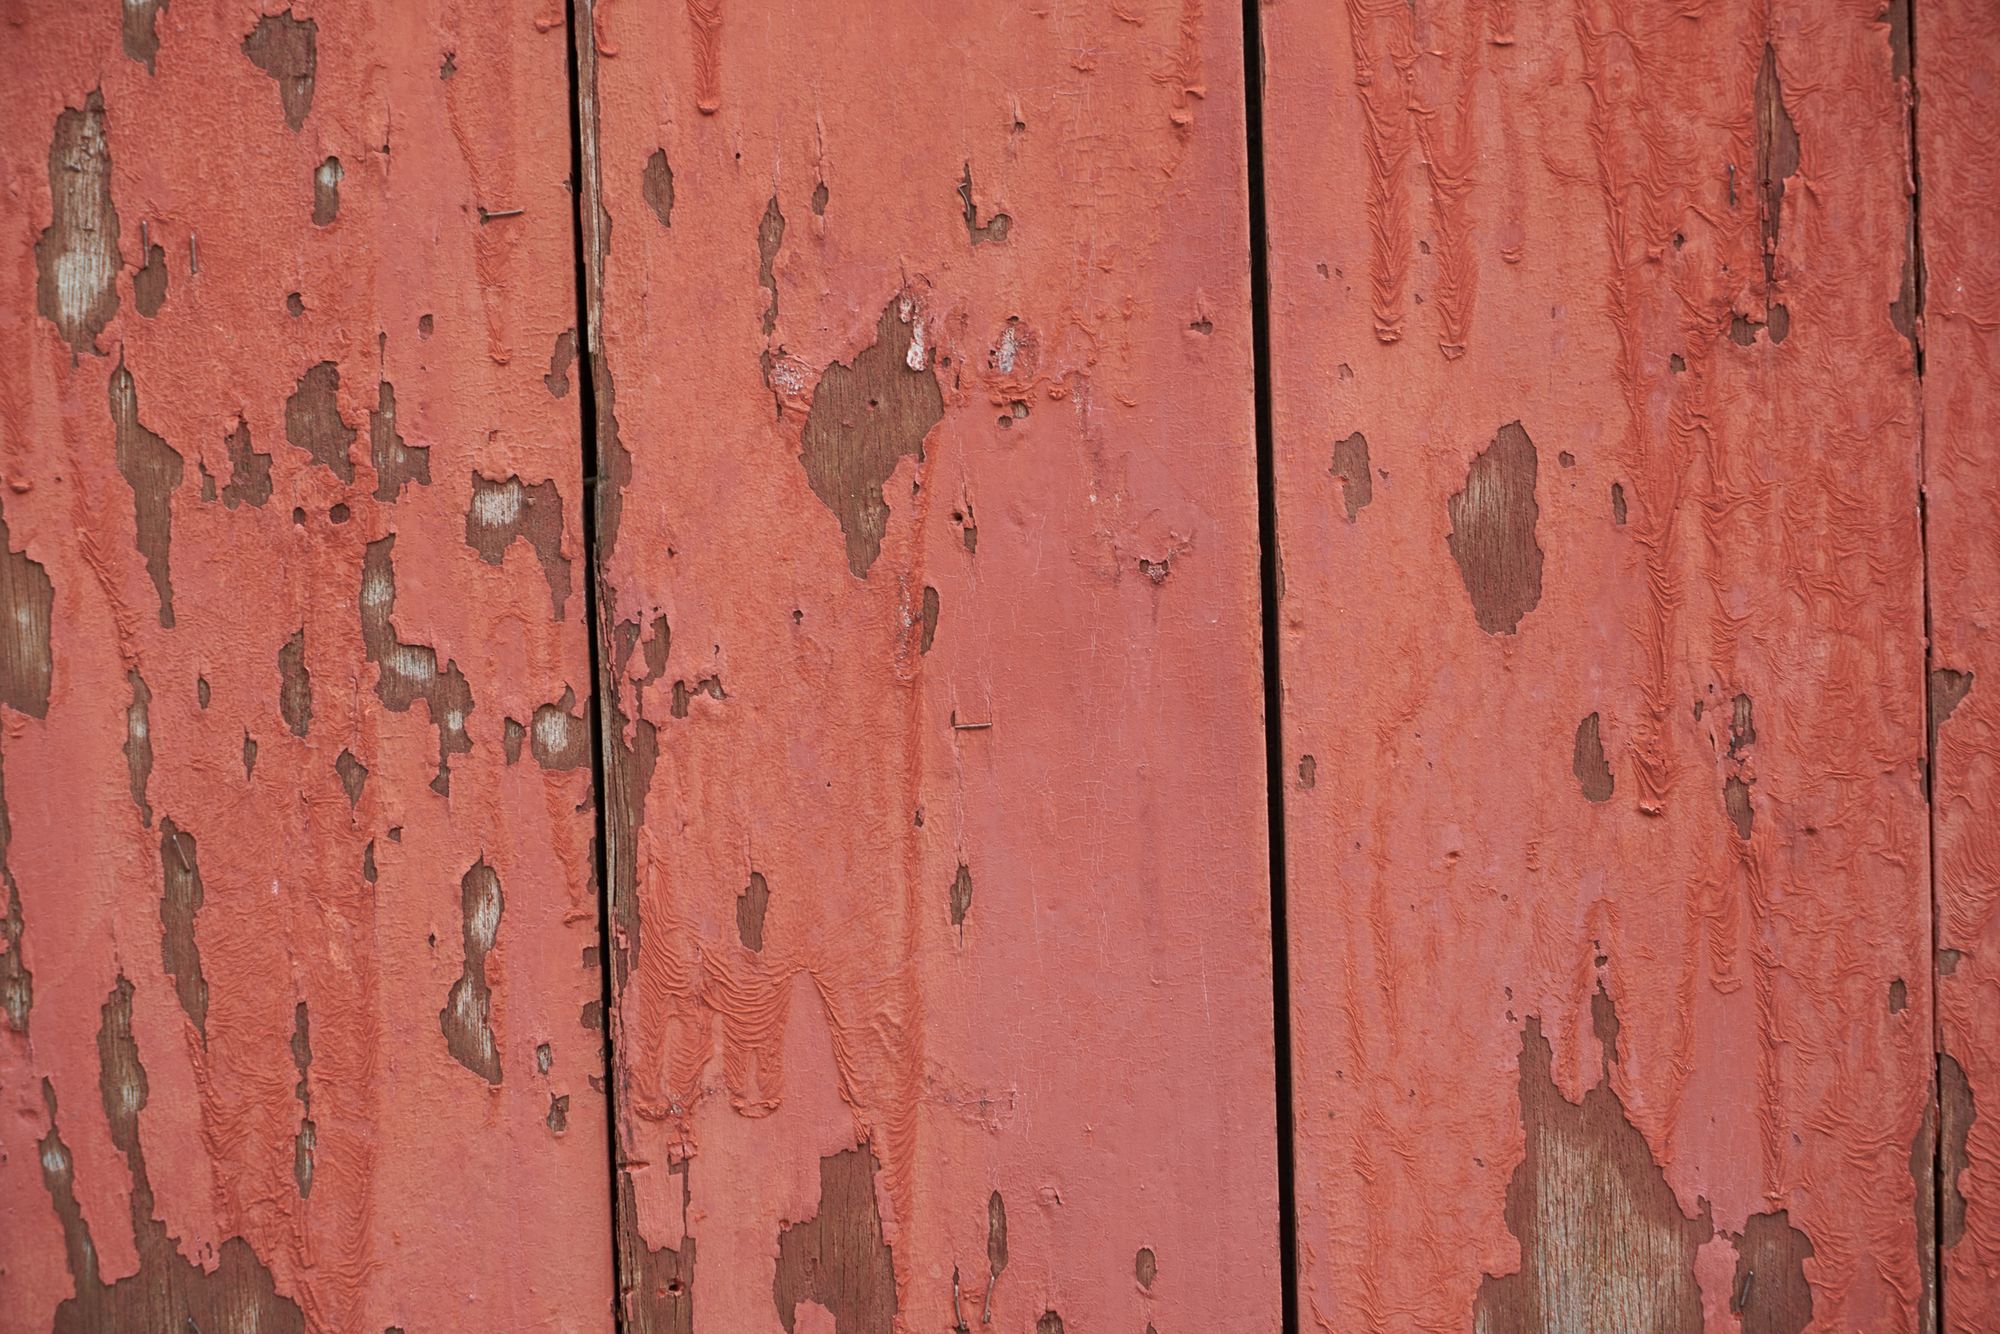
Table of Contents
- Introduction
- Key Takeaways
- Types of Wood Rot to Be Wary Of
- Causes of Wood Rot
- Tell-tale Signs of Wood Rot
- Highly Rot-Resistant Woods and Their Approximate Costs
- Ways to Treat or Prevent Wood From Rotting
- Cost of Prevention of Wood Rot
- Conclusion
Key Takeaways
- Wood rot is a common problem that can significantly reduce the lifespan and aesthetics of wood structures, making wood preservation crucial.
- There are several types of wood rot, including dry, wet, white, brown, and soft rot, each with distinct characteristics and effects on wood.
- Wood rot is primarily caused by moisture, lack of ventilation, and the presence of fungus. Understanding these causes can help in crafting effective prevention strategies.
- Identifying wood rot early is key to minimizing damage and cost. This can be achieved by being aware of the visual and physical signs of wood rot.
- Various wood preservation techniques, including DIY methods, can help in preventing wood rot, thereby enhancing the durability of wood structures.
- While there is an upfront cost to implementing wood rot prevention methods, it results in substantial long-term savings by avoiding the cost of replacing rotten wood.
- Regular maintenance is an integral part of wood preservation and can significantly extend the lifespan of wood.
Introduction
Wood, a natural and versatile material, is extensively used in a variety of applications including construction, furniture, decking, and fencing. However, it's susceptible to a phenomenon known as wood rot - a destructive process that can drastically reduce its durability and aesthetic appeal. Wood preservation is therefore of paramount importance. This involves the use of strategies and techniques aimed at enhancing the longevity of wood by preventing rot and other forms of decay.
In this comprehensive guide, we delve into the world of wood preservation. We begin by exploring the various types of wood rot you should be wary of, followed by a discussion on their causes. Armed with this knowledge, we then identify the tell-tale signs of wood rot, a crucial step in preventing further damage. Next, we uncover a range of methods to treat and prevent wood rot, from professional wood preservation techniques to DIY solutions. Lastly, we address the cost implications of these prevention methods and the role of regular maintenance in wood preservation.
Stay with us as we journey through this important topic, ultimately helping you protect your wood from rot, and by extension, safeguard your investments.
Types of Wood Rot to Be Wary Of
Wood rot is a term that encompasses several types of decay, each with unique characteristics and impacts on wood. Let's delve into five common types of wood rot:
- Dry Rot: Despite its name, dry rot occurs in damp, poorly ventilated conditions. It's caused by a fungus named Serpula lacrymans, which can weaken the wood's structure to the point of crumbling. A classic example of dry rot is when the wooden elements under the sink, often exposed to moisture, start developing a brownish, crumbly texture.
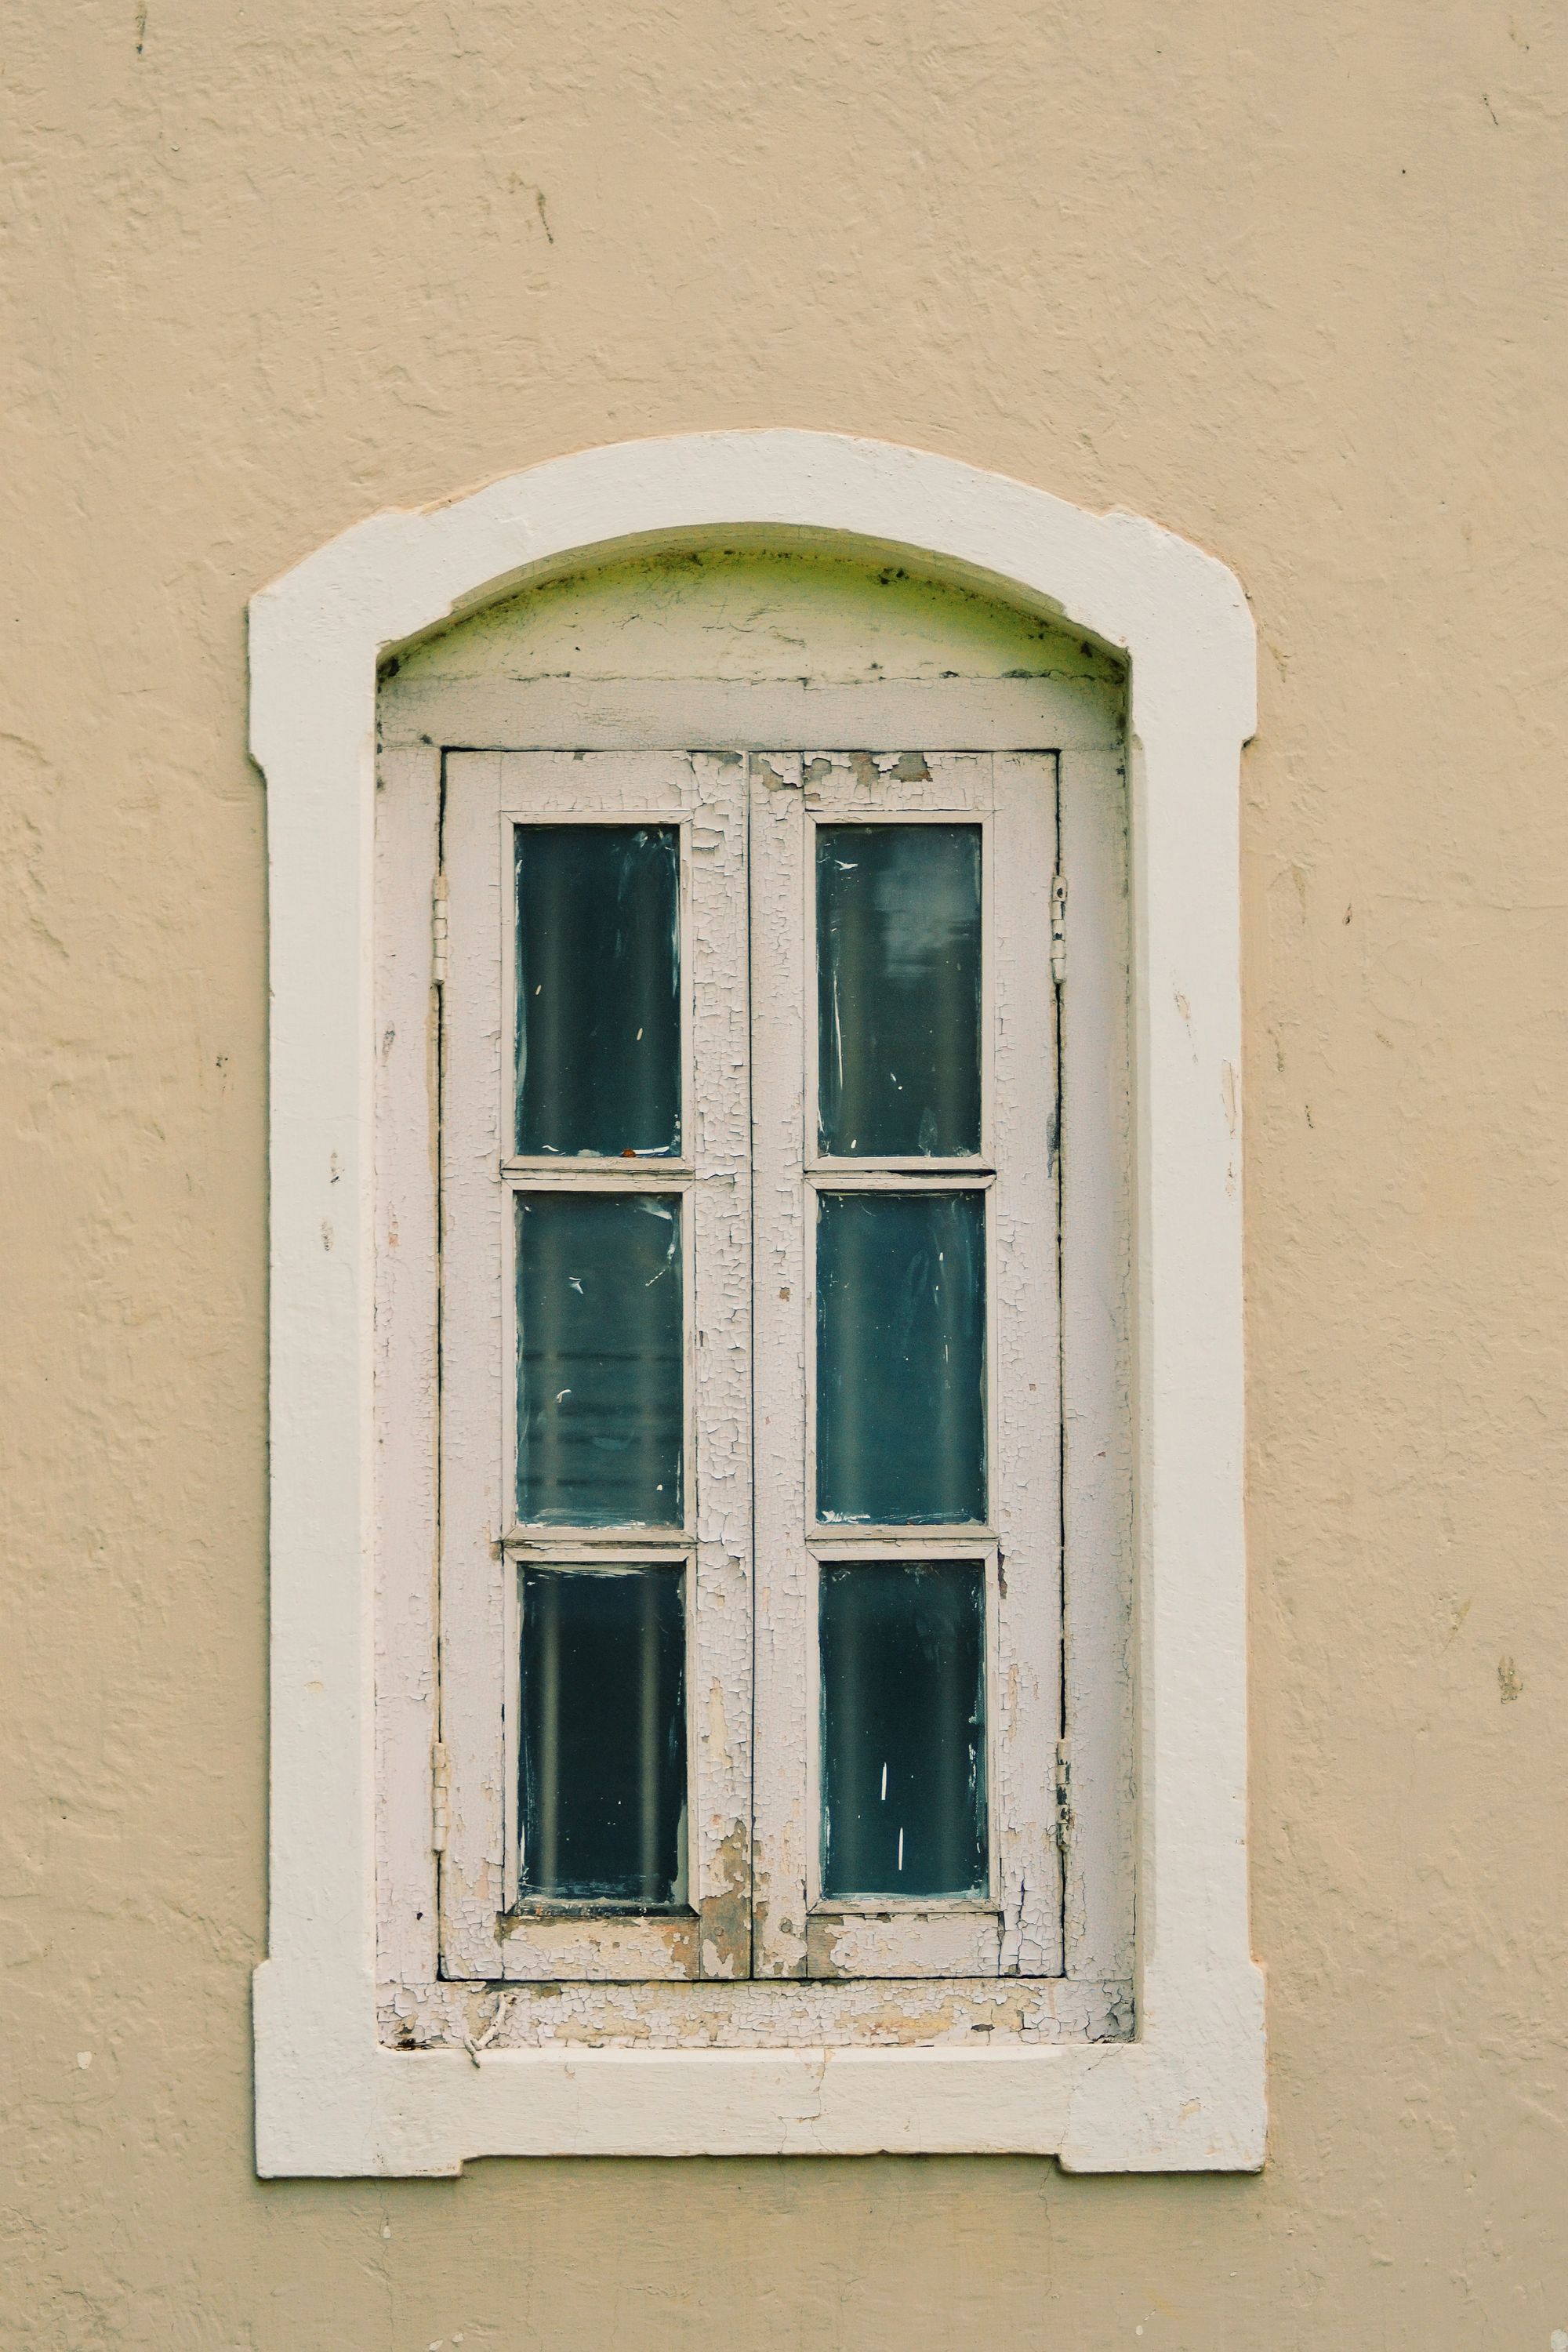
- Wet Rot: This type of rot is localized to areas where wood is constantly exposed to high levels of moisture, such as wooden window frames or bathroom floors. Coniophora puteana, the common wet rot fungus, leaves wood with a dark, mushy appearance. The decayed wood can feel sponge-like when pressed.
- White Rot: As the name suggests, white rot gives wood a whitish or yellowish hue. It primarily affects hardwoods used in flooring, furniture, or framing. The culprit fungus, such as Phanerochaete chrysosporium, breaks down both the cellulose and lignin in wood, causing it to become fibrous and spongy.
- Brown Rot: Brown rot, or 'brown cubical rot,' is caused by fungi like Gloeophyllum sepiarium. These fungi primarily attack the cellulose in wood, leaving behind the brownish lignin. The affected wood turns brown, dry, and brittle, often breaking into cube-shaped fragments. It's a common sight in outdoor wooden structures like decks or fences.
Each type of rot compromises the durability of wood in different ways. Dry rot and brown rot significantly weaken the wood's structural integrity, making it susceptible to breaking or crumbling. Wet rot and white rot, while localized, can cause the wood to become soft and spongy, reducing its strength and stability. Soft rot, although slow-progressing, can lead to extensive damage over time due to its ability to thrive in extreme conditions.
Understanding the different types of wood rot is the first step towards effective wood preservation. By recognizing the signs of each type, one can implement targeted treatment and prevention strategies, thereby enhancing the lifespan and durability of wooden structures.
Tell-tale Signs of Wood Rot
Identifying wood rot early is crucial for limiting its damage and implementing effective treatment measures. Here are some common physical signs to watch out for:
- Discoloration: Wood affected by rot often changes color. Depending on the type of rot, it may turn brown (dry rot, brown rot), black (wet rot), white or yellow (white rot), or display other discolorations (soft rot).
- Texture Change: As wood rot progresses, the texture of the wood changes. It may become crumbly and dry (dry rot, brown rot), soft and spongy (wet rot, white rot, soft rot), or break into cube-like pieces (brown rot).
- Shrinkage: Wood affected by rot tends to shrink as the fungi consume its cellulose and lignin content. This can lead to noticeable gaps or deformities in wooden structures.
- Musty Odor: A distinct musty, damp smell is often associated with wood rot, especially in enclosed spaces. This smell is a product of the fungal metabolism.
- Fungal Growth: In some cases, you may see visible signs of fungal growth on the wood surface. This can range from mushroom-like bodies to a fine, cotton-like growth, or even a rust-colored dust (dry rot).
- Poor Structural Integrity: As rot progresses, the wood's structural integrity is compromised. This can manifest as sagging floors, warped walls, or doors and windows that no longer close properly.
Identifying these signs early can help prevent further damage and save on repair costs. If you notice any of these signs, it's vital to act swiftly and consult a professional if necessary. Remember, prevention is always better than cure, especially when it comes to maintaining the durability and integrity of your wooden structures.
Highly Rot-Resistant Woods and Their Approximate Costs
When it comes to choosing wood for construction or crafting, one important factor to consider is the wood's natural resistance to rot. Some species of wood have a high resistance to decay and rot, making them ideal for outdoor use or in damp conditions. Here are some of these rot-resistant woods and their approximate costs:
- Teak: Known for its exceptional durability and water resistance, teak is commonly used in marine applications and outdoor furniture. It can cost approximately $22 to $24 per board foot.
- Cedar: Cedar, especially Western Red Cedar, is known for its rot resistance and is commonly used in outdoor applications like decking and fencing. It costs approximately $4 to $8 per board foot.
- Black Locust: This is one of the most rot-resistant woods available. It’s often used for posts, fencing, and outdoor furniture. The cost is around $5 to $10 per board foot.
- White Oak: White oak has a high rot resistance due to its closed cellular structure. It's often used in boat building, outdoor furniture, and decking. It typically costs around $5 to $10 per board foot.
- Ipe: Also known as Brazilian Walnut, Ipe is extremely resistant to rot and pests, making it ideal for decking. Ipe can cost around $5 to $15 per linear foot.
- Redwood: Redwood has a natural resistance to rot and is commonly used for decks, fences, and siding. It costs approximately $8 to $20 per board foot.
Remember, the costs mentioned are approximate and can vary depending on the quality, grade, and local availability of the wood. Always consider your specific needs and consult with a professional before making your final decision.
Ways to Treat or Prevent Wood from Rotting
Preserving wood and preventing rot is a multi-faceted task that requires a combination of strategies, from choosing the right wood to regular maintenance. Here are some effective ways to treat or prevent wood from rotting:
- Use Rot-Resistant Wood: Some wood species are naturally resistant to rot, such as cedar, teak, and black locust. These woods contain natural oils and compounds that repel water and inhibit fungal growth. Using such wood for outdoor structures or damp areas can greatly reduce the risk of wood rot.
- Chemical Wood Preservatives: Various chemical treatments are available that can make wood resistant to rot. These include oil-based preservatives (like creosote and pentachlorophenol), water-based preservatives (like copper azole and alkaline copper quaternary), and borate preservatives. These chemicals penetrate the wood and protect it from fungi, insects, and moisture.
- Sealing and Painting: Sealing and painting provide a physical barrier against moisture, one of the primary causes of wood rot. It's especially important for wood that's exposed to the elements. High-quality, water-repellent paints and sealants can protect the wood from moisture and ultraviolet light.
- Proper Ventilation: Ensuring good ventilation can help prevent wood rot. It helps to dry out any moisture that may be present in the wood, denying fungi the damp environment they need to thrive. Ensuring proper ventilation in attics, basements, and crawl spaces can significantly reduce the risk of wood rot.
- Regular Maintenance: Regular inspection and maintenance is key to preventing wood rot. Check for leaking pipes or roofs, as these can introduce unwanted moisture. Clean gutters regularly to prevent water from seeping into the woodwork. Replace any rotten wood immediately to prevent the rot from spreading.

DIY Wood Preservation Methods
While professional treatments are highly effective, there are also DIY methods for wood preservation:
- DIY Sealing and Painting: Homeowners can seal and paint wood themselves. Proper preparation, including sanding and priming, is key to a successful paint job. Use a high-quality sealant or paint for the best protection.
- DIY Borate Treatment: Borate is a DIY-friendly wood preservative. You can buy borate powder and mix it with water to create a solution. Apply this solution to the wood using a brush or sprayer.
- Regular Cleaning: Regularly cleaning wooden structures, especially outdoor ones, can prevent the accumulation of moisture and the subsequent growth of fungi. Remove leaves and other debris that can trap moisture.
Maintenance plays a crucial role in enhancing the lifespan of wood. Regular inspection, cleaning, and reapplication of paint or sealant can prevent wood rot from setting in or spreading. By taking proactive steps to treat and prevent wood rot, you can ensure the longevity and durability of your wooden structures.
Step-by-Step Guide for Applying Wood Preservatives
This section aims to provide readers with a detailed, step-by-step guide on how to apply various types of wood preservatives properly. By following this guide, you can confidently apply wood preservatives on your own, ensuring proper application that maximizes the longevity and effectiveness of the treatment, thereby reducing the risk of decay and extending the life of wood structures.
Step-by-Step Process:
- Choose the Right Preservative: Select a wood preservative that is suitable for the type of wood and its intended use (indoor vs. outdoor). Common choices include oil-based preservatives for outdoor use and water-based for indoor use due to lower toxicity.
- Prepare the Wood: Ensure the wood is clean, dry, and free from any dirt, grease, or other contaminants. Sand the wood lightly to open up the pores, which allows for better absorption of the preservative.
- Apply the Preservative: Use a brush, roller, or sprayer to apply the preservative evenly across the wood surface. Make sure to follow the manufacturer's instructions regarding application methods and the amount needed.
- Allow for Penetration: Let the preservative soak into the wood for the recommended time. Avoid touching or moving the wood during this period to ensure thorough coverage and absorption.
- Apply Additional Coats: If the manufacturer recommends multiple coats, wait for the first coat to dry completely before applying subsequent coats. This could take several hours to a full day, depending on weather conditions and the specific product used.
- Dry and Cure: Allow the wood to dry completely. Curing times can vary based on the type of preservative and environmental conditions. This step is crucial as premature use can lead to incomplete preservation.
- Regular Maintenance: Check the wood periodically and reapply preservative as recommended or if signs of wear and tear or weathering are observed.
Environmental Considerations and Safe Practices
Key Considerations:
- Choose Eco-Friendly Preservatives: Opt for preservatives with lower volatile organic compounds (VOCs) and those that are labeled as eco-friendly or less toxic. Water-based preservatives often have lower environmental impact than oil-based alternatives.
- Proper Handling and Disposal: Always use protective gear such as gloves, masks, and goggles when applying wood preservatives. Follow local regulations for disposing of any leftover preservatives and cleaning materials like brushes and containers.
- Ventilation: When applying preservatives, especially indoors or in poorly ventilated areas, ensure adequate airflow to prevent inhalation of fumes, which can be harmful to both humans and pets.
- Awareness of Wildlife and Plants: When working outdoors, be mindful of the surrounding flora and fauna. Try to prevent runoff into soil or waterways, which could harm plant life and aquatic animals.
- Recycling and Waste Reduction: Use preservatives efficiently to minimize waste. Store any unused preservatives properly for future use instead of disposing of them.
By adhering to these environmentally friendly practices, readers can ensure that their wood preservation efforts are not only successful in protecting their wood projects but also in contributing positively to the environmental sustainability.
Troubleshooting Common Issues in Wood Preservation
There are common problems that may arise during the wood preservation process, such as uneven application, wood warping, or failure to prevent rot. Equipping yourself with the knowledge to handle potential issues effectively ensures better outcomes in your wood preservation efforts, minimizing frustration and unnecessary costs.
Common Issues and Solutions:
- Uneven Application:
- Problem: Preservative is not spread uniformly, leading to some areas being more susceptible to decay.
- Solution: Always use appropriate tools for application, such as brushes or sprayers that match the type of preservative. Apply multiple thin coats rather than a single thick one, ensuring each layer is dry before applying the next.
- Wood Warping:
- Problem: Wood changes shape or distorts, often due to uneven drying or moisture absorption.
- Solution: Ensure the wood is adequately dried before application and kept at a consistent moisture level post-treatment. Store treated wood in a stable, controlled environment to prevent rapid temperature and humidity changes.
- Failure to Prevent Rot:
- Problem: Wood starts decaying despite treatment, indicating ineffective preservation.
- Solution: Use a preservative appropriate for the wood type and environmental conditions. Reapply preservatives according to the manufacturer’s recommendations or sooner if the wood is heavily exposed to adverse conditions.
- Residue or Blotching:
- Problem: Residue on the wood surface after treatment or uneven coloration.
- Solution: Clean the wood thoroughly before application to remove any dirt or oils that can prevent absorption. If using a tinted preservative, stir it frequently during application to maintain color consistency.
Comparison of Professional Services vs. DIY for Wood Treatment
Professional Services vs. DIY:
- Cost:
- Professional Services: Generally more expensive due to labor costs but can be cost-effective for large projects or when specialized equipment is required.
- DIY: Lower initial costs since you only pay for materials. However, there can be hidden costs in acquiring tools and potential waste due to inexperience.
- Quality and Reliability:
- Professional Services: Higher quality of work with a warranty on services. Professionals have the expertise and equipment to handle complex projects efficiently.
- DIY: Quality depends on the individual’s skill level. There is a learning curve, and mistakes can be costly, but it offers a sense of accomplishment and personalized control over the project.
- Time and Convenience:
- Professional Services: Saves personal time and effort. Projects are typically completed faster with professional scheduling.
- DIY: Time-consuming, particularly if new to the task. However, it offers flexibility to work at one’s own pace and schedule.
- Customization and Learning Experience:
- Professional Services: Customization is possible but can be limited by the contractor’s capabilities or costs.
- DIY: Provides a valuable learning experience and the ability to completely tailor the project to personal specifications.
Decision Factors:
Consider the complexity of the project, your available time, budget constraints, and desire for a learning experience. For straightforward projects or when cost-saving is paramount, DIY may be the best choice. For complex, large-scale, or high-stakes projects where mistakes can be costly, hiring professionals is advisable.
Cost of Prevention of Wood Rot
The cost of preventing wood rot can vary greatly depending on the method used and the scope of the project. However, investing in prevention can save significant expenses in the long run by avoiding extensive repair or replacement costs.
- Rot-Resistant Wood: While rot-resistant wood species may cost more initially than other types of lumber, the cost can be justified by their longer lifespan and reduced maintenance needs. The price can range from $20 to $50 per square foot, depending on the species and grade of wood.
- Chemical Wood Preservatives: The cost of chemical wood preservatives can range from $15 to $50 per gallon, depending on the type and brand. It's important to remember that while these treatments can be applied DIY, some require professional application due to their toxicity.
- Sealing and Painting: The cost for sealant or paint can range from $20 to $60 per gallon. The total cost will also include prep materials and tools. If you hire a professional, you may need to budget for labor costs, which can range from $20 to $50 per hour.
- Ventilation: The cost of improving ventilation can vary widely, depending on the specific needs of your space. Installing a new ventilation system can cost several hundred to several thousand dollars.
- Regular Maintenance: Routine maintenance, such as gutter cleaning, can cost between $150 and $225 for a professional service, but can be done DIY for the cost of tools and materials.
In calculating the cost of prevention, consider the potential long-term savings. The cost of repairing or replacing rot-damaged wood can range from several hundred to several thousand dollars, depending on the extent of the damage. More importantly, untreated wood rot can lead to serious structural damage, posing a risk to the safety of your home and significantly increasing repair costs. Investing in prevention is a wise decision that can save money, time, and stress in the long run.
Annual Maintenance Schedule for Preserved Wood
Regular maintenance extends the life of preserved wood, saves money by avoiding costly repairs, and maintains the wood’s aesthetic appeal.
Annual Maintenance Schedule:
- Spring:
- Inspect for Damage: Check for any signs of rot, insect infestation, or physical damage as winter can be harsh on wooden structures.
- Cleaning: Clean the wood surfaces with a mild detergent and a soft brush to remove dirt, debris, and any mold or mildew buildup from moist winter conditions.
- Reapply Preservative: Depending on the type of wood and exposure, reapply a light coat of preservative to ensure continued protection against moisture and pests.
- Summer:
- UV Protection: If not already treated with a UV-inhibitive sealant, consider applying one during the early summer to protect against the harsh sun.
- Moisture Check: Summer rains can contribute to wood rot. Ensure that no part of the wood is retaining moisture or in constant contact with wet ground.
- Repair: Fix any loose nails or hardware to prevent further damage from summer storms or heavy use.
- Autumn:
- Prepare for Wet Weather: Check and clear all drainage systems in wooden decks or structures to prevent water accumulation.
- Seal Cracks: Fill any cracks with a wood filler to prevent water from seeping in and freezing during the winter, which can cause further splitting.
- Cover or Store: If possible, cover outdoor wood furniture or structures to protect them from the elements or store them in a dry place.
- Winter:
- Regular Inspections: Perform brief inspections after any major winter storms to assess any immediate damage or water logging.
- Snow Removal: Remove snow from decks, furniture, and other wooden structures promptly to prevent moisture seepage and prolonged contact which can lead to wood rot.
- Pest Check: Keep an eye out for signs of pest infestations, which can be more prevalent as creatures seek shelter from the cold.
Monthly Checks:
- Visual Inspection: Walk around and inspect wooden structures for any signs of wear or damage.
- Clean Spills: Immediately clean any spills to prevent stains or water absorption.
- Tighten Fittings: Ensure that all bolts and screws are tight and that the wood hasn’t shifted or settled in a way that could cause structural problems.
Important Considerations:
- Tailor the maintenance schedule based on local climate conditions. More humid areas might require more frequent preservative treatments, while dry regions may need more attention to cracking and UV damage.
- Always use products suitable for the type of preserved wood and follow the manufacturer’s application instructions to ensure the best protection.
By adhering to this annual maintenance schedule, you can significantly extend the life and appearance of your preserved wood, ensuring it remains durable and attractive for years to come.
In conclusion, wood rot is a common problem that can cause significant damage to wooden structures. Early detection, through signs like discoloration, texture change, shrinkage, musty odor, fungal growth, and compromised structural integrity, is key to limiting its impact. Various prevention methods, such as using rot-resistant wood, applying chemical wood preservatives, sealing and painting, ensuring proper ventilation, and performing regular maintenance can help protect your wood from decay. While these methods may have an upfront cost, they offer substantial long-term savings by preventing the need for expensive repairs or replacements.
DIY methods, including home sealing, painting, and borate treatment, are also effective ways of preserving wood. Regular cleaning and maintenance are crucial in enhancing the lifespan of your wooden structures.
Remember, the cost of prevention is always less than the cost of repair. So, take action today to protect your wooden structures from rot, ensuring their longevity and durability.